Knowing is the key to caring, and with caring there is hope that people will be motivated to take positive actions. They might not care even if they know, but they can’t care if they are unaware.
– Sylvia A. Earle
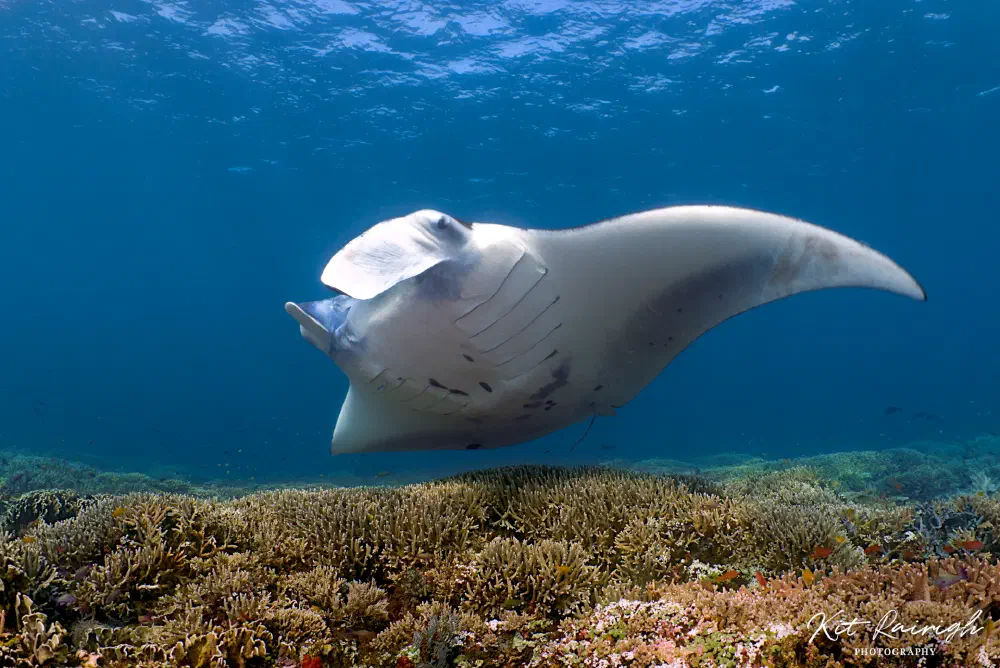
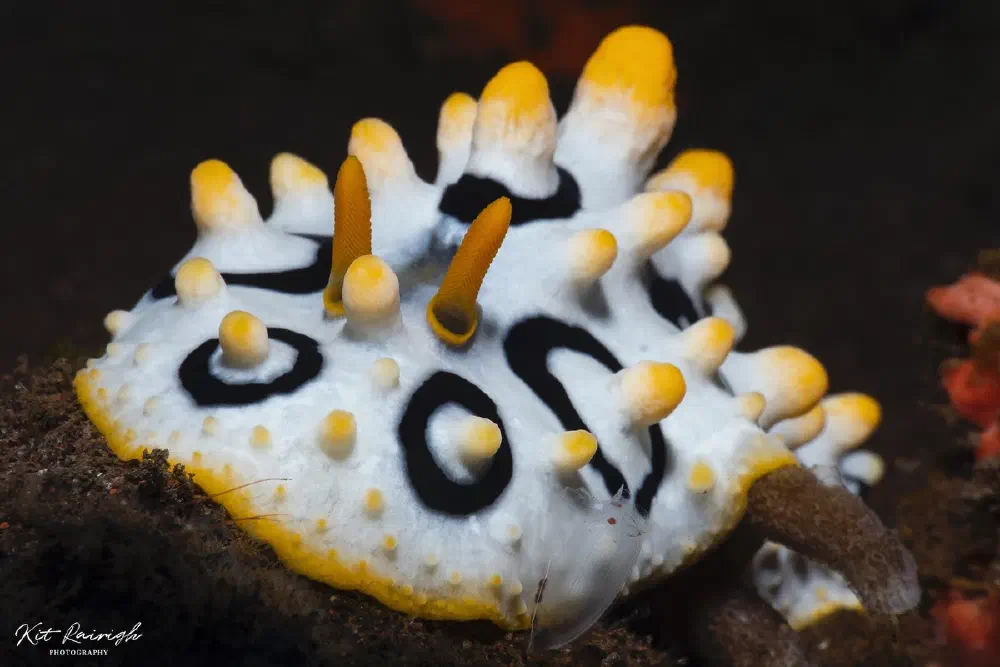
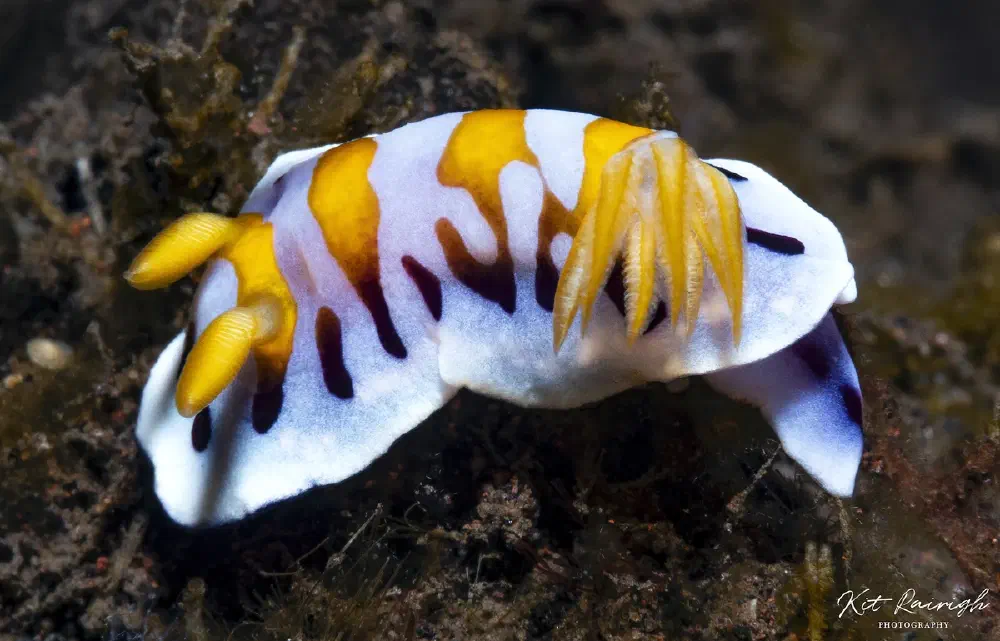
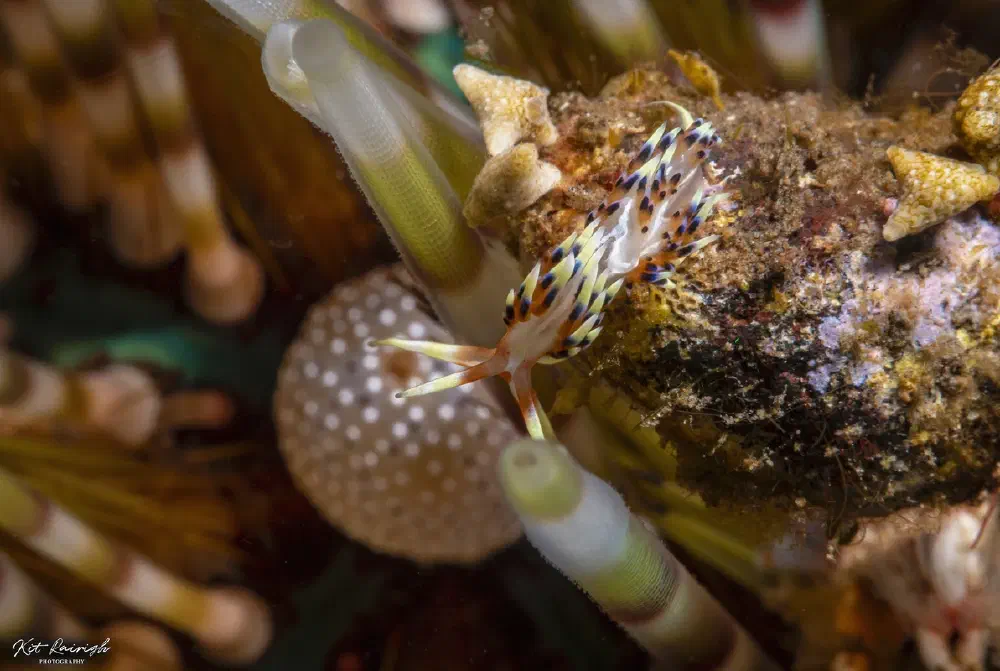
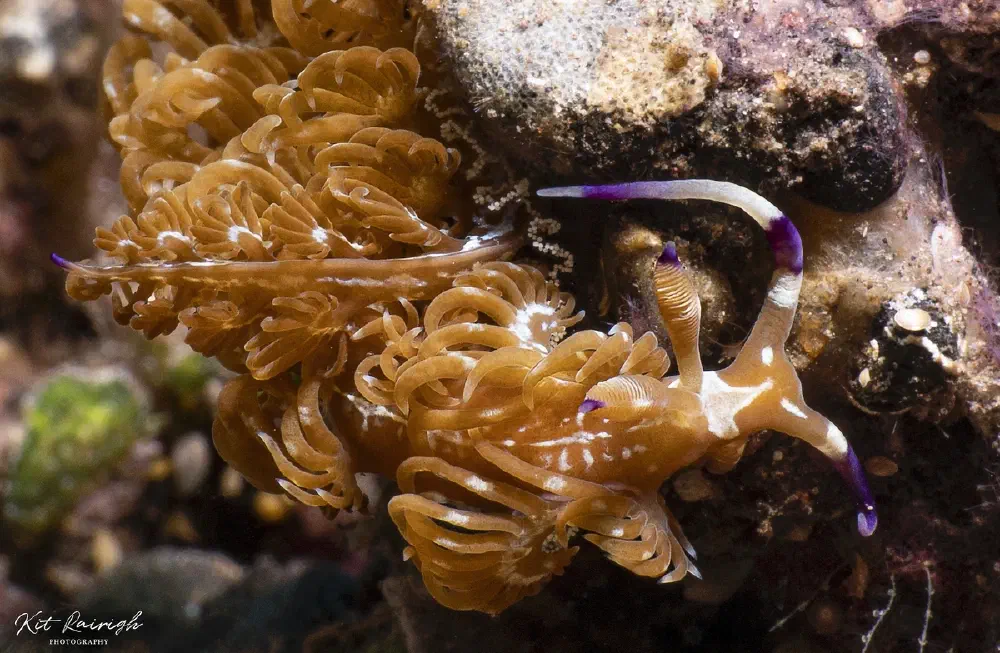
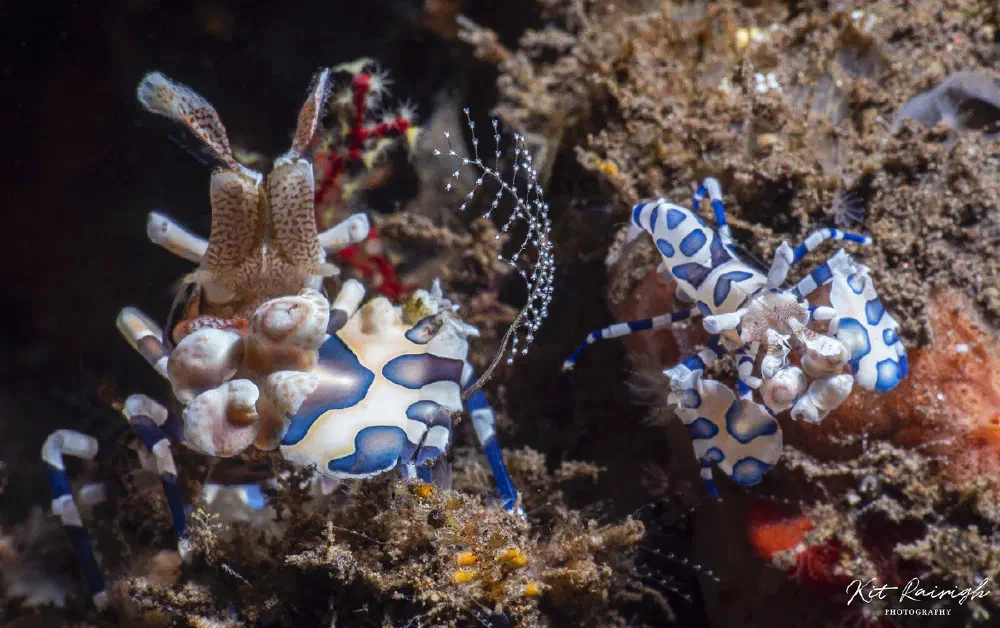
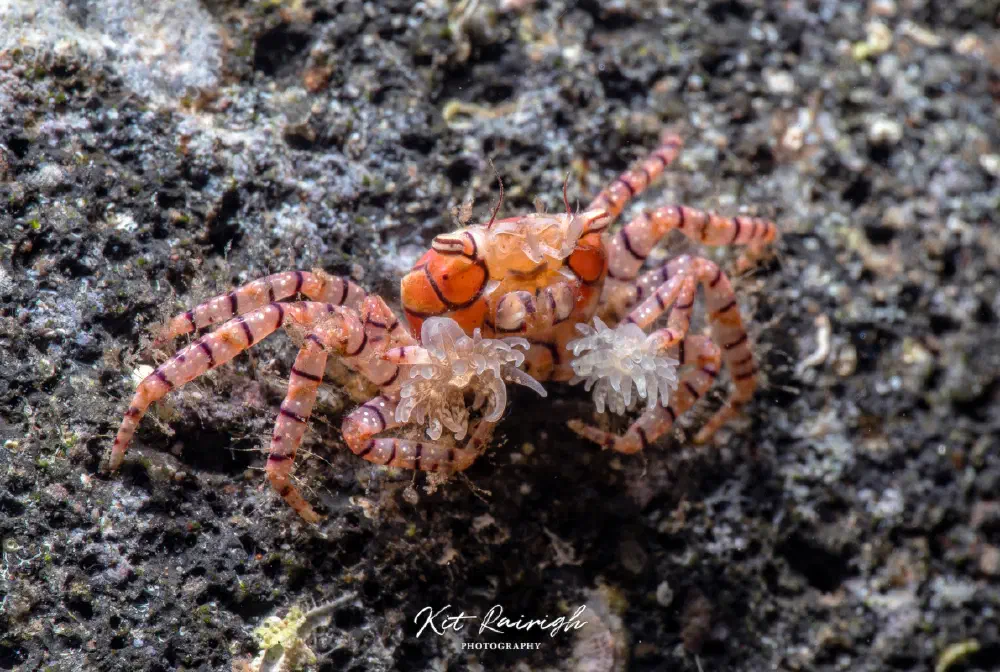
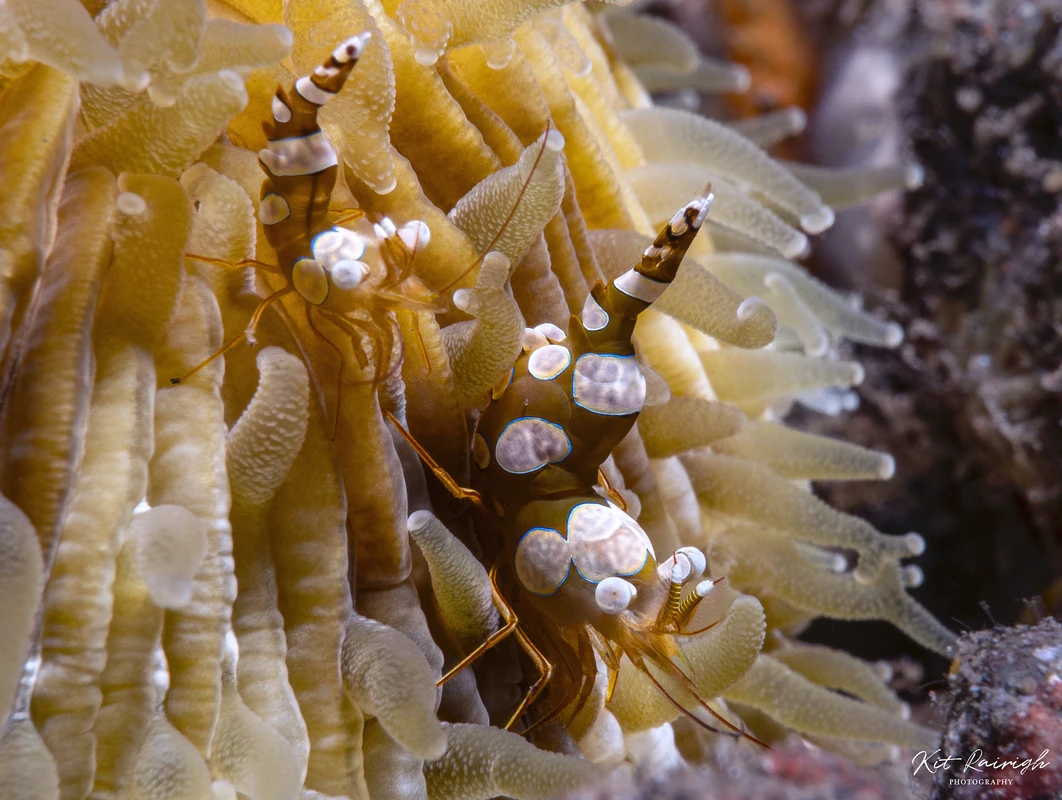
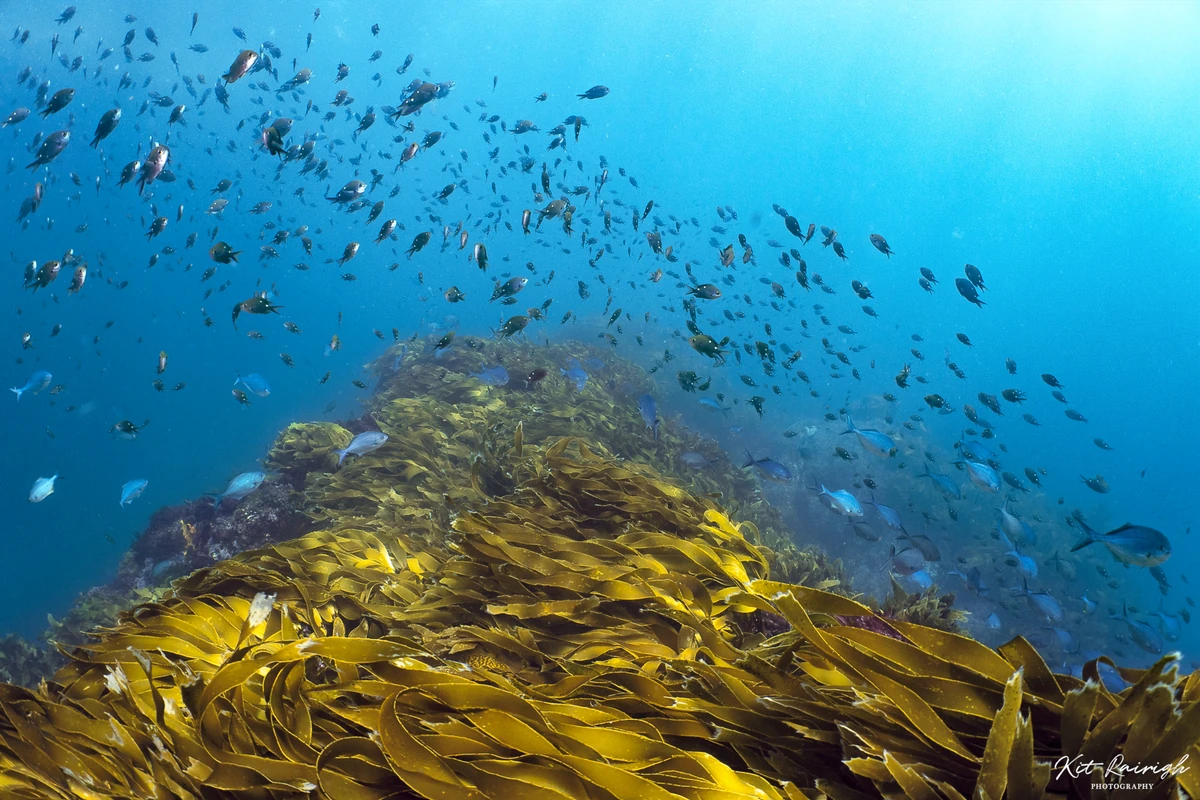
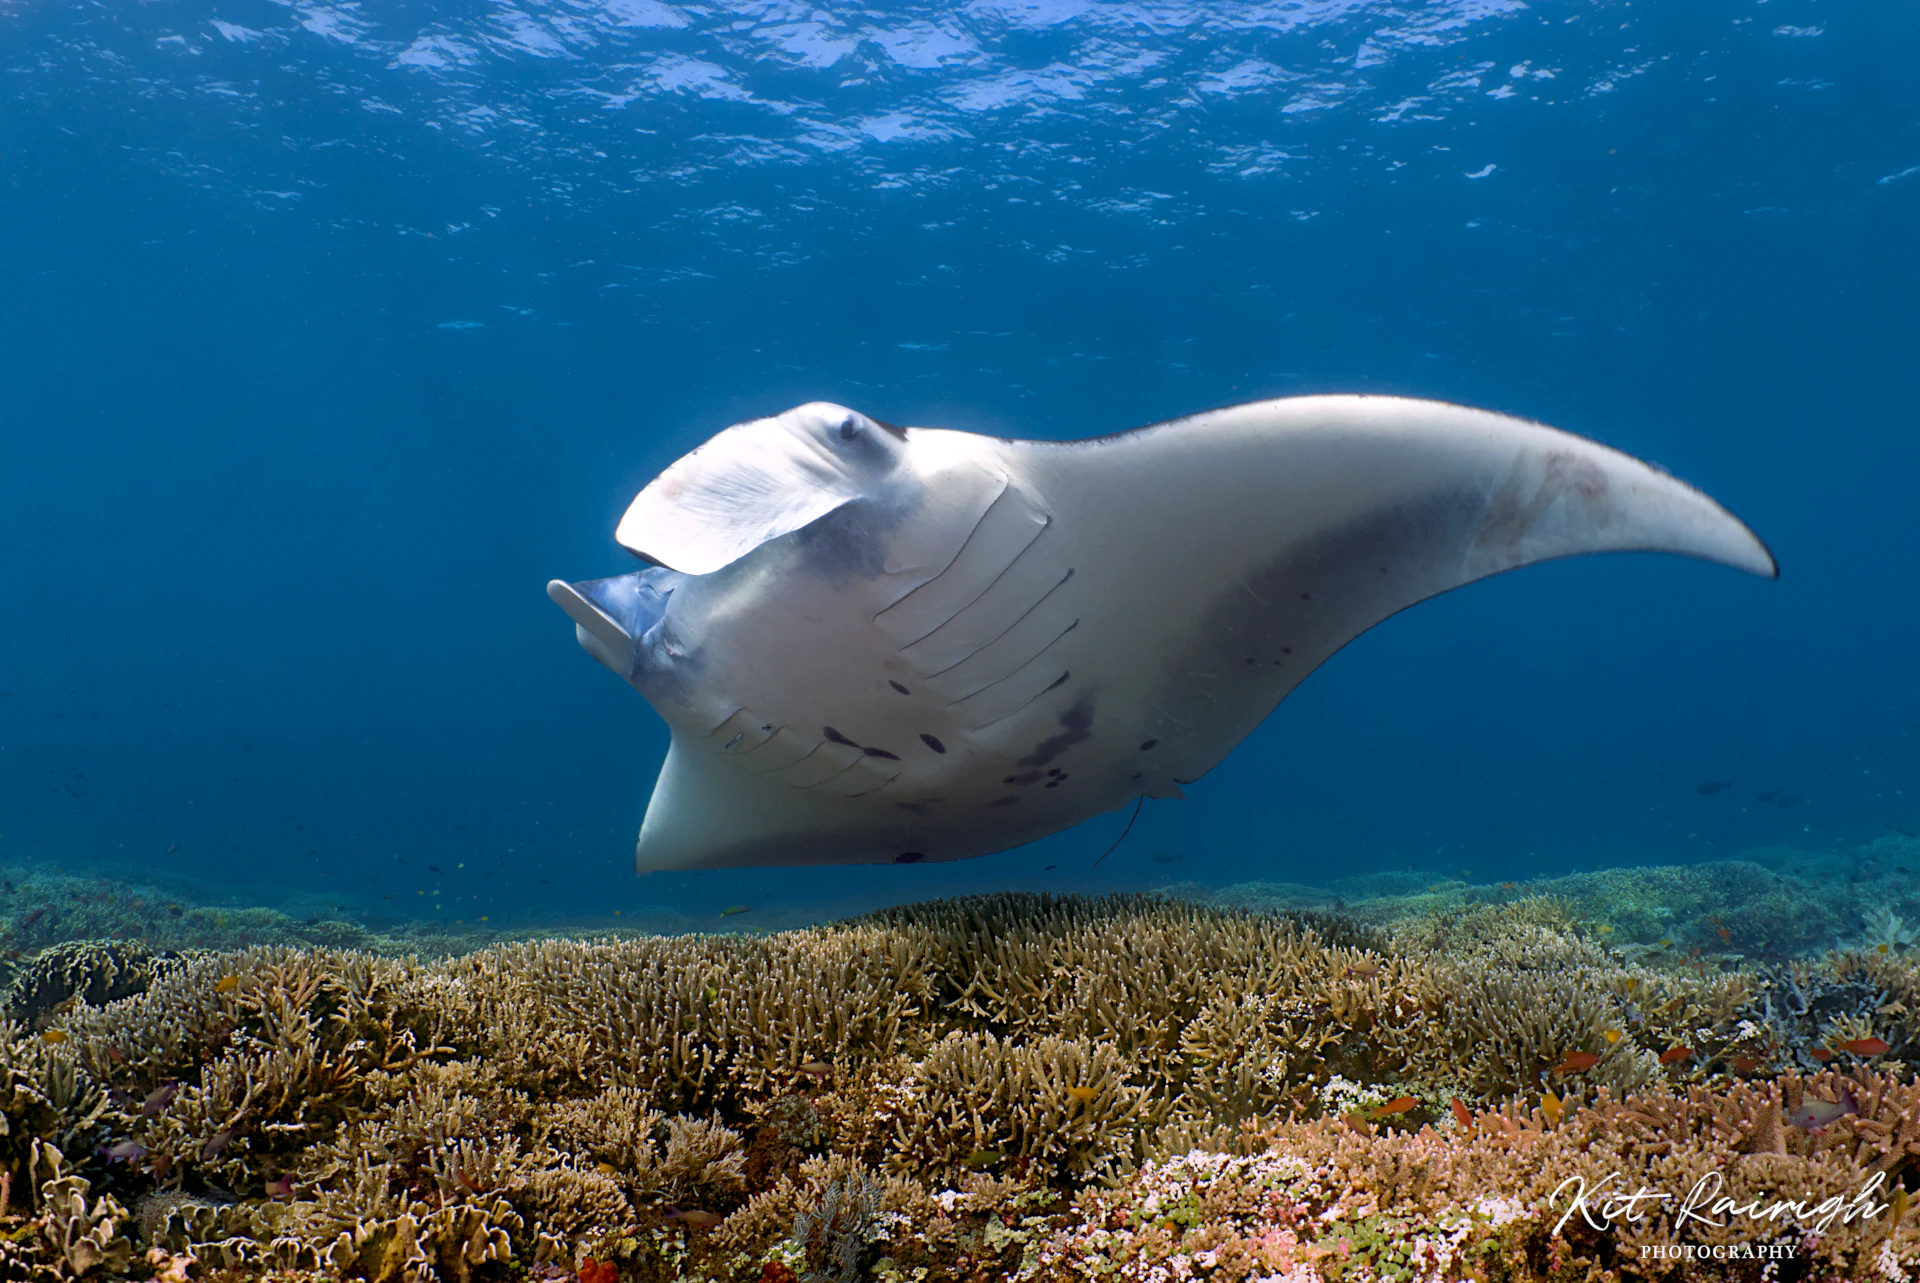
One of my all-time favorite shots during an incredible trip to the Komodo Island in Indonesia was a true test of diving abilities and camera work. This is a photo that, to me, shows a balance of power, beauty, and diversity in a tropical seascape. The raw photo itself came out wonderfully, but did require some relatively “standard” work in post-production to recreate the ambiance I felt in the moment.
In 2018, my (future) wife and I went on a diving trip that took us through Papua New Guinea, and three separate locations in Indonesia. This was my first time to these countries and I had no idea what to expect. Perhaps I will share stories from the adventure another time.
The last leg of our journey was on a traditional Indonesian phinisi liveaboard. We despise the fancy, extravagant trips often sold to foreigners and prefer to find local ships using local guides, serving local food, and keeping the group sizes small. While not always true, this supports the local economy and reduces our carbon footprint.
About midway through our trip, we were taken at sunrise to a popular “Manta hangout” that would be crowded with day-trip boats later in the day. During the dive, we drifted along with the current following our guide until he finally spotted a manta. But the ray seemed shy and would quickly check out the group before turning the other way. As diving instructors, we are used to keeping our heads on a swivel, and happened to look in the deeper water behind us. There we saw 2 huge mantas feeding and slowly working their way towards us.
My wife and I turned, stayed low to the coral (but giving enough space as not to touch it!), and let the mantas come to us. Slowly but surely, they eventually came up close. I set my camera, turned the flash to a low setting and pointed it up at a 45 degree angle. When this manta swooped overhead, I snapped the shot and enjoyed the next 20 minutes while the two mantas danced around us.
Eventually the rest of the group caught on and the swarm of divers scared off the two mantas. But for those 20 minutes or so “alone” with the creatures was absolutely magical.
Mobula alfredi. I am not an expert in identification, but I believe this was indeed a Reef Manta Ray, and not an Mobula birostris (Oceanic Manta Ray). Any expert out there, please correct/confirm in the comments section at the end of the article and I will amend this part of the article!
Manta rays are often confused with their counterparts: stingrays. While mantas do indeed have a tail that looks similar to that of a stingray, it does not have the same “stinging” blades nor venom. Instead, manta rays’ defense mechanisms are its impressive size, speed, and maneuverability.
Mantas are filter feeders, which is why you will often see them with their mouths wide open, doing loops and swoops in the water to gather as much plankton as possible. However, being a filter feeder is also one reason they are particularly vulnerable to ocean microplastics since they will consume and accumulate large quantities.
Another huge pressure on manta ray populations is overfishing - some believe that the ray’s gills hold medicinal properties (unproven by science), and bycatch - rays are often trapped in nets that are not meant for them. Finally, as the climate changes, so does the food availability and habitat for these creatures.
In this shot, I was in relatively shallow water (5-8 meters), hovering just above a beautiful and extensive coral reef. Fortunately, the water was relatively clear and the sun was shining brightly, but not directly overhead. This makes for some good photographic conditions.
Firstly, I have talked about it before and I will talk about it again… When scuba diving, our first priority must be to protect the environment. There is no excuse for breaking corals or disturbing wildlife! So before I even begin to talk about anything related to photography, the first step is to have perfect buoyancy. It is a very challenging skill to master, and even after thousands of dives, we can still keep working on it, learning to be better and better.
As a follow-up, I would say another critical skill in these situations is body awareness. It’s not easy when you’re covered in a wetsuit or dry suit, carrying gear, and having long fins sticking off the end of your feet. However, we must always be aware of our surroundings. During this dive, while the manta rays were dancing about us, I was constantly on the lookout for where I was in relation to the reef, to my buddy, other wildlife, and other divers. I probably missed 20-30 photos because of this. That’s OK. More importantly, I did not put the reef, wildlife, or anyone else at risk because of my behavior.
Finally, as you probably well know, coral reefs are under a massive threat from climate change, and are going through unprecedented bleaching events at an every increasing rate (in fact, as I write this, the Great Barrier Reef in Australia is going it’s 5th bleaching in 8 years) and at previously unseen levels. There is hope on the horizon as some scientists are working to restore the reefs by capturing spawning corals and attracting them to damaged areas. But this is still just a hope. To truly have a chance for our coral reefs to survive, our society must transition to more sustainable and environmentally harmonious conduct.
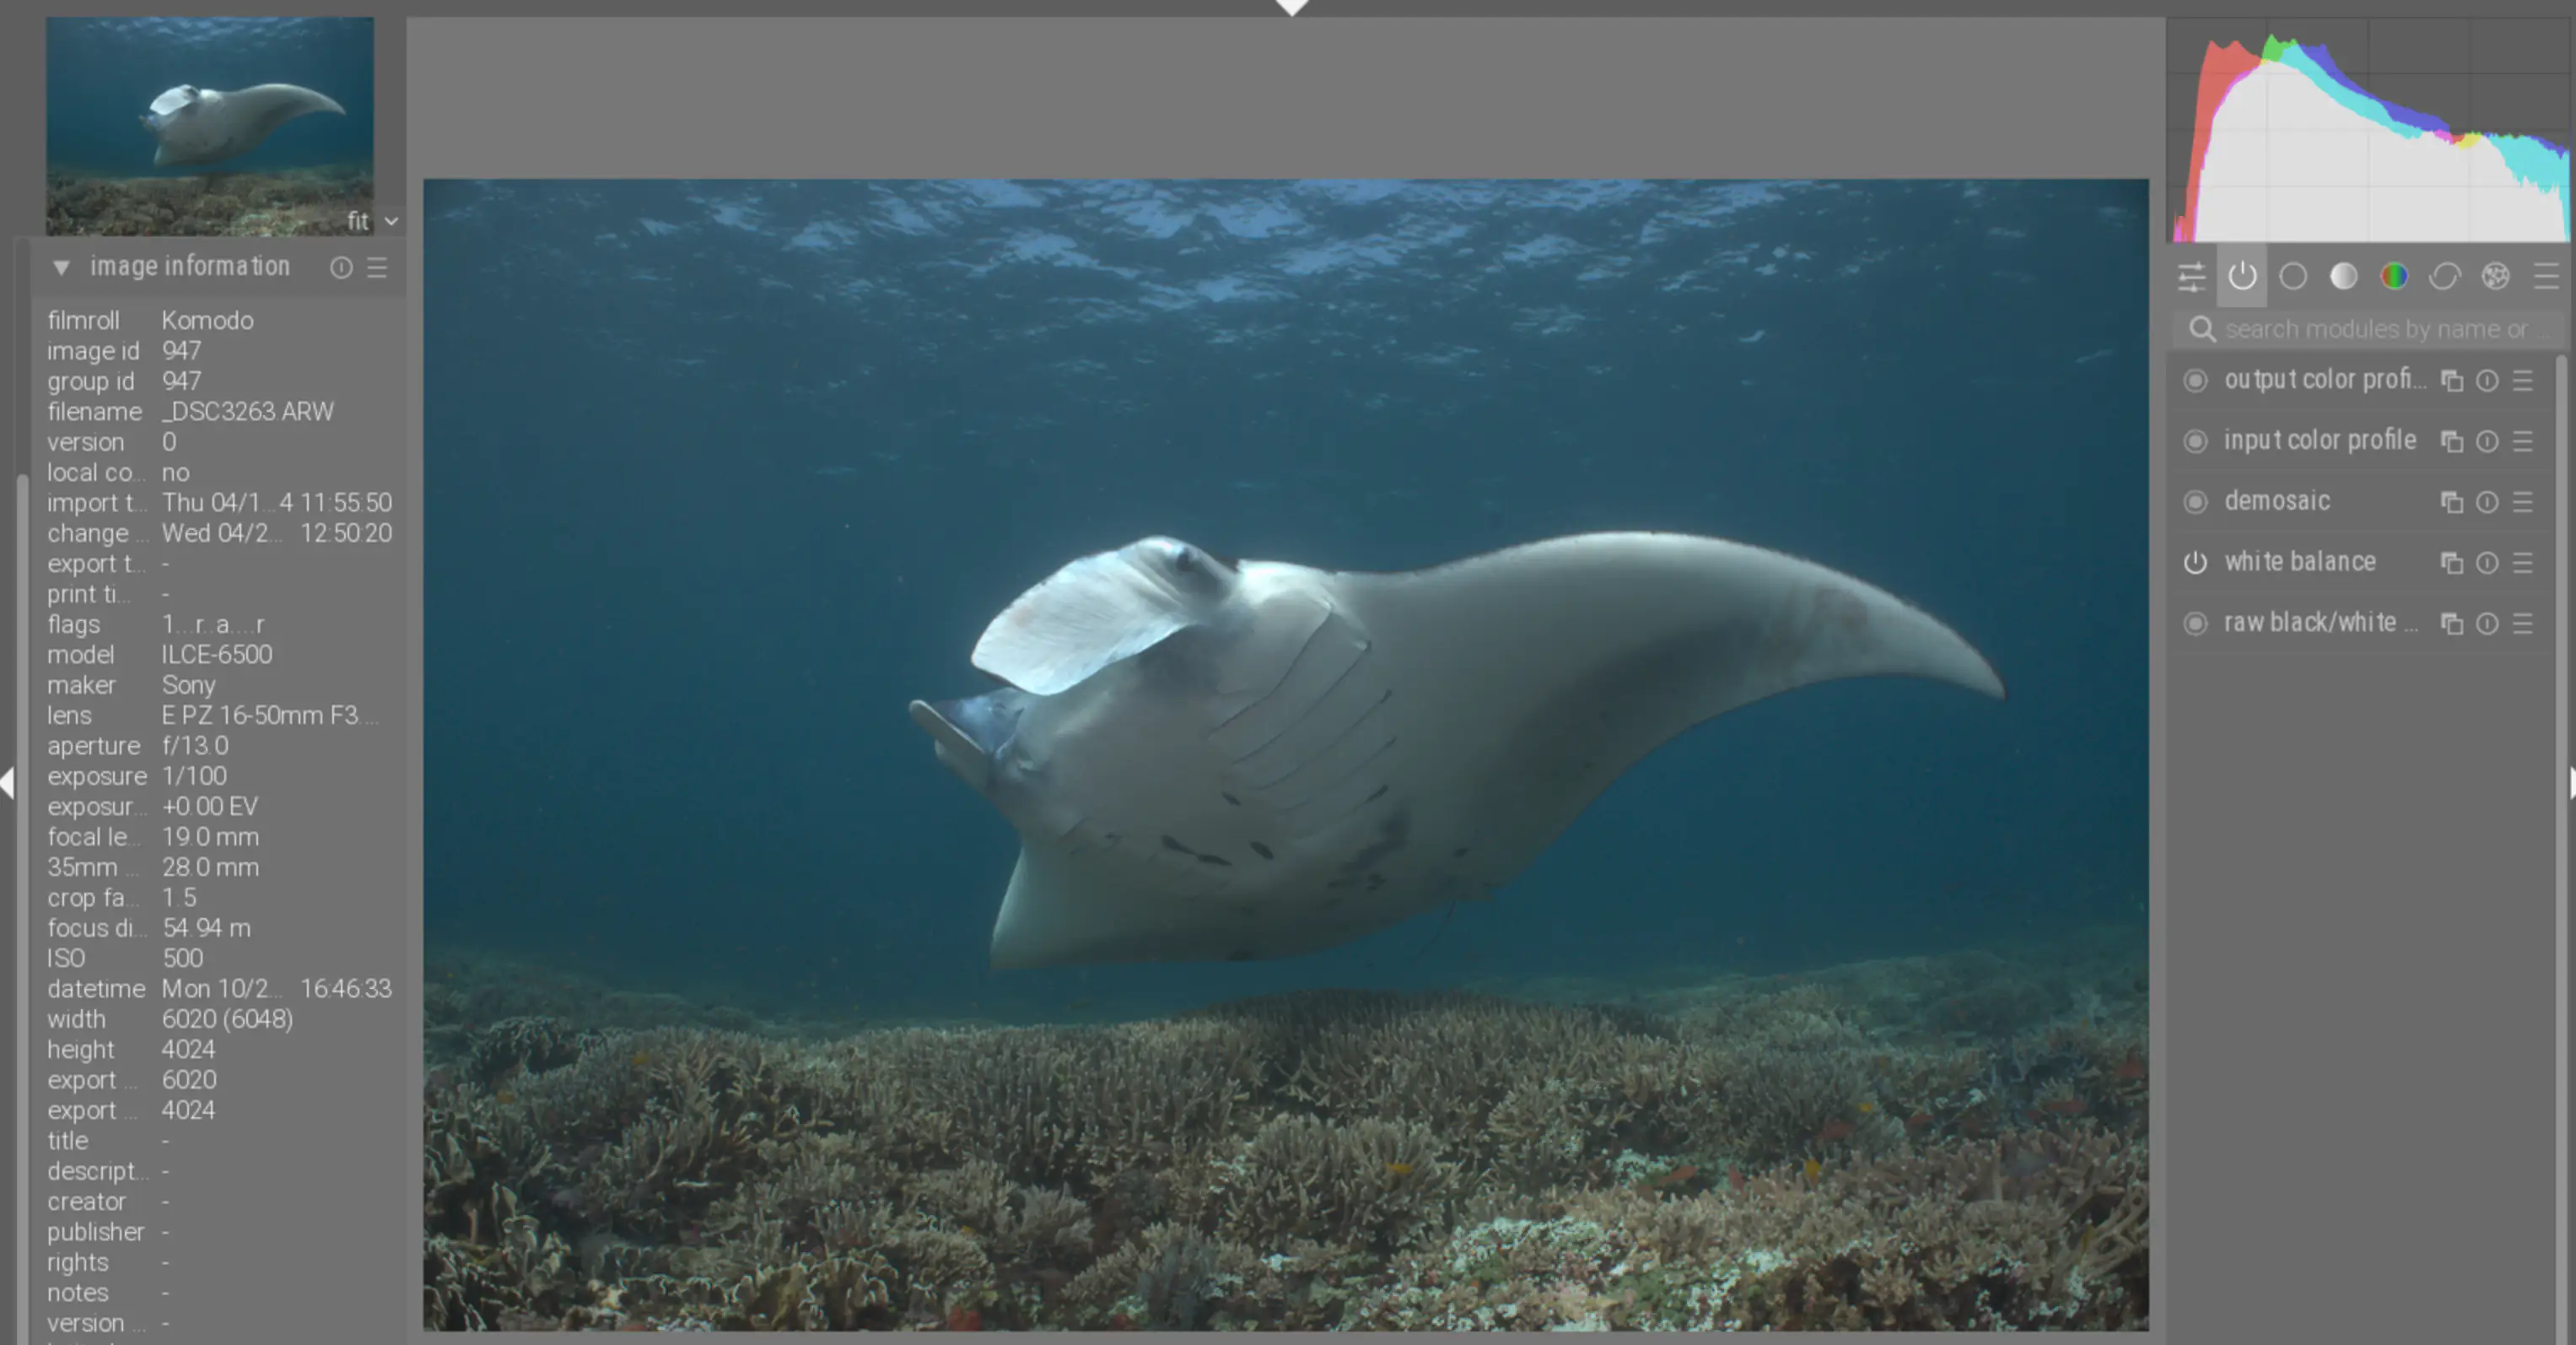
The blueish haze can make one think the photo isn’t great at first look.
The first time I saw manta rays was on a moonless night dive in Hawaii where we held huge flashlights pointed upwards to light the plankton. This attracted mantas from all around. It must have been just my 9th or 10th dive ever, and to experience their dance just centimeters from my head was mind-blowing.
Moving forward to the time of this photo: we had done a dive with mantas a day prior and I got a handful of photos. But to me the photos felt flat and did not really capture the emotion I felt the first time I encountered manta rays. So how did I get this shot? I started by putting my camera to the side. Instead of trying to “capture” a moment with these creatures, I just simply existed in the moment and let the creatures do their dance.
At one moment, one of the mantas traveled directly overhead through the stream of bubbles coming from my exhale. I thought: THIS is the moment I want to relive. So the following day when we were heading to another manta feeding area, I was looking for this opportunity.
To get the shot, I knew I wanted to use as much natural light as possible, while giving just a small fill light to the underside of the manta passing overhead. So my thought process was this:
A side note on working with natural light: In many ways it can produce the best underwater shots. But, as on land, we should be aware of the shadows and angle of the light as it enters the water. This can have a huge effect on our shot to either create a flat, lifeless image, or one with depth, color variations, and even some ripples from the surface. Furthermore, with depth comes color loss - water acts as a filter and will reduce your reds VERY quickly. This is where I still use a flash, but on a very low setting just to help bring back some of the natural colors before post-production.
Perhaps the shutter speed was too slow, as the creature did indeed create a slight motion blur. However, I am content with the result as I feel it adds to the feeling of motion. The ocean is always in motion, and so are its inhabitants.
In this case I feel like I am starting with a pretty decent raw image: exposure isn’t off by much, colors are decent, and not much backscatter.
But anytime we shoot underwater, one must be aware of how the water filters the colors. Anything at a distance outside the range of my flash will likely have an aqua-blueish tint. For me, this is a common issue, and one of the first edits I make to the raw file before even touching it with my photo editor. Let’s have a look at the image in Darktable (here v 4.6.1) and see what we can do.
Remember that when we are editing the raw file, there is more pixel “data” stored, so we have greater ability to adjust the image without “clipping” into unwanted areas. However, I am not trying to create the perfect final image here. I want to get as close as possible, but will do final fine-tuning in the actual photo editing software.
I always start with a few fundamental filters: lens correction, denoise (profiled to my camera and ISO level), and exposure. This gets me in the right territory before making other adjustments.
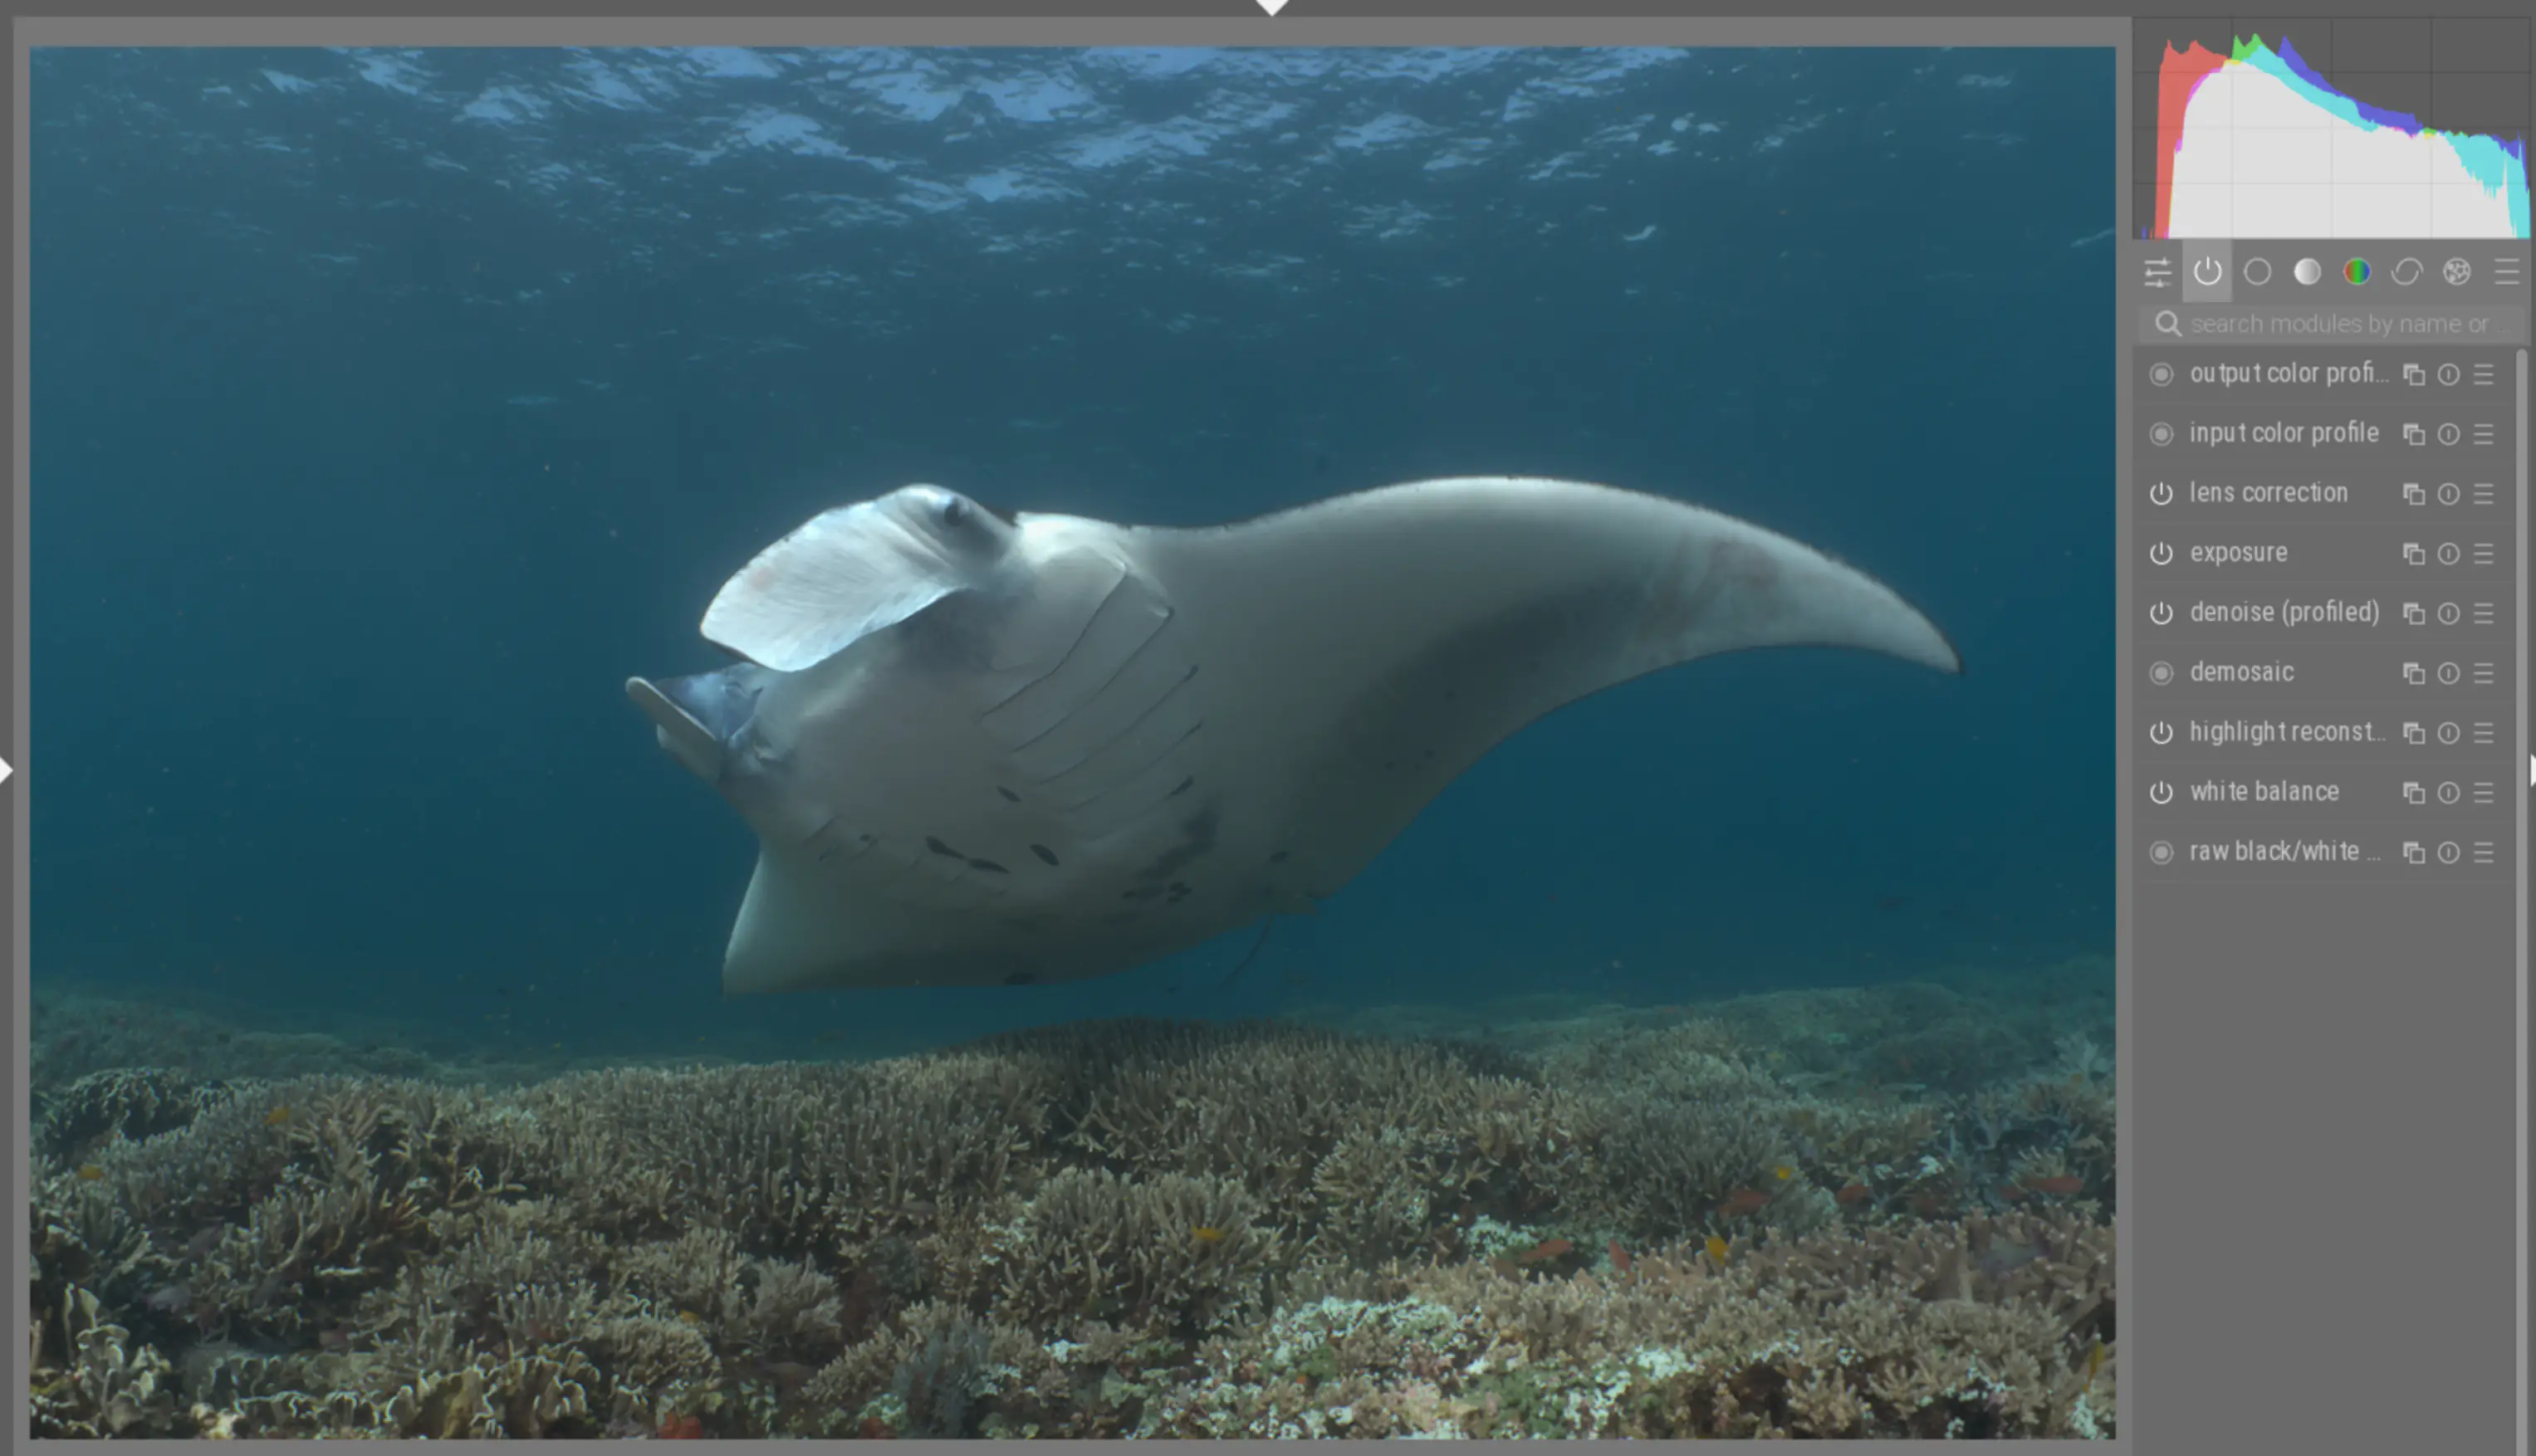
Starting with the correct exposure helps to define what areas should be white or black.
Now to adjust for our filtered light. I primarily rely on two filters: “RGB levels”, and “color zones”. I use the RGB levels filter to do the heavy lifting. You can usually start with the “auto” setting, and then fine tune the handles from there. Here you can see where I’ve adjusted out a lot of the hazy aqua color to get better whites, and more colorful corals and fish.
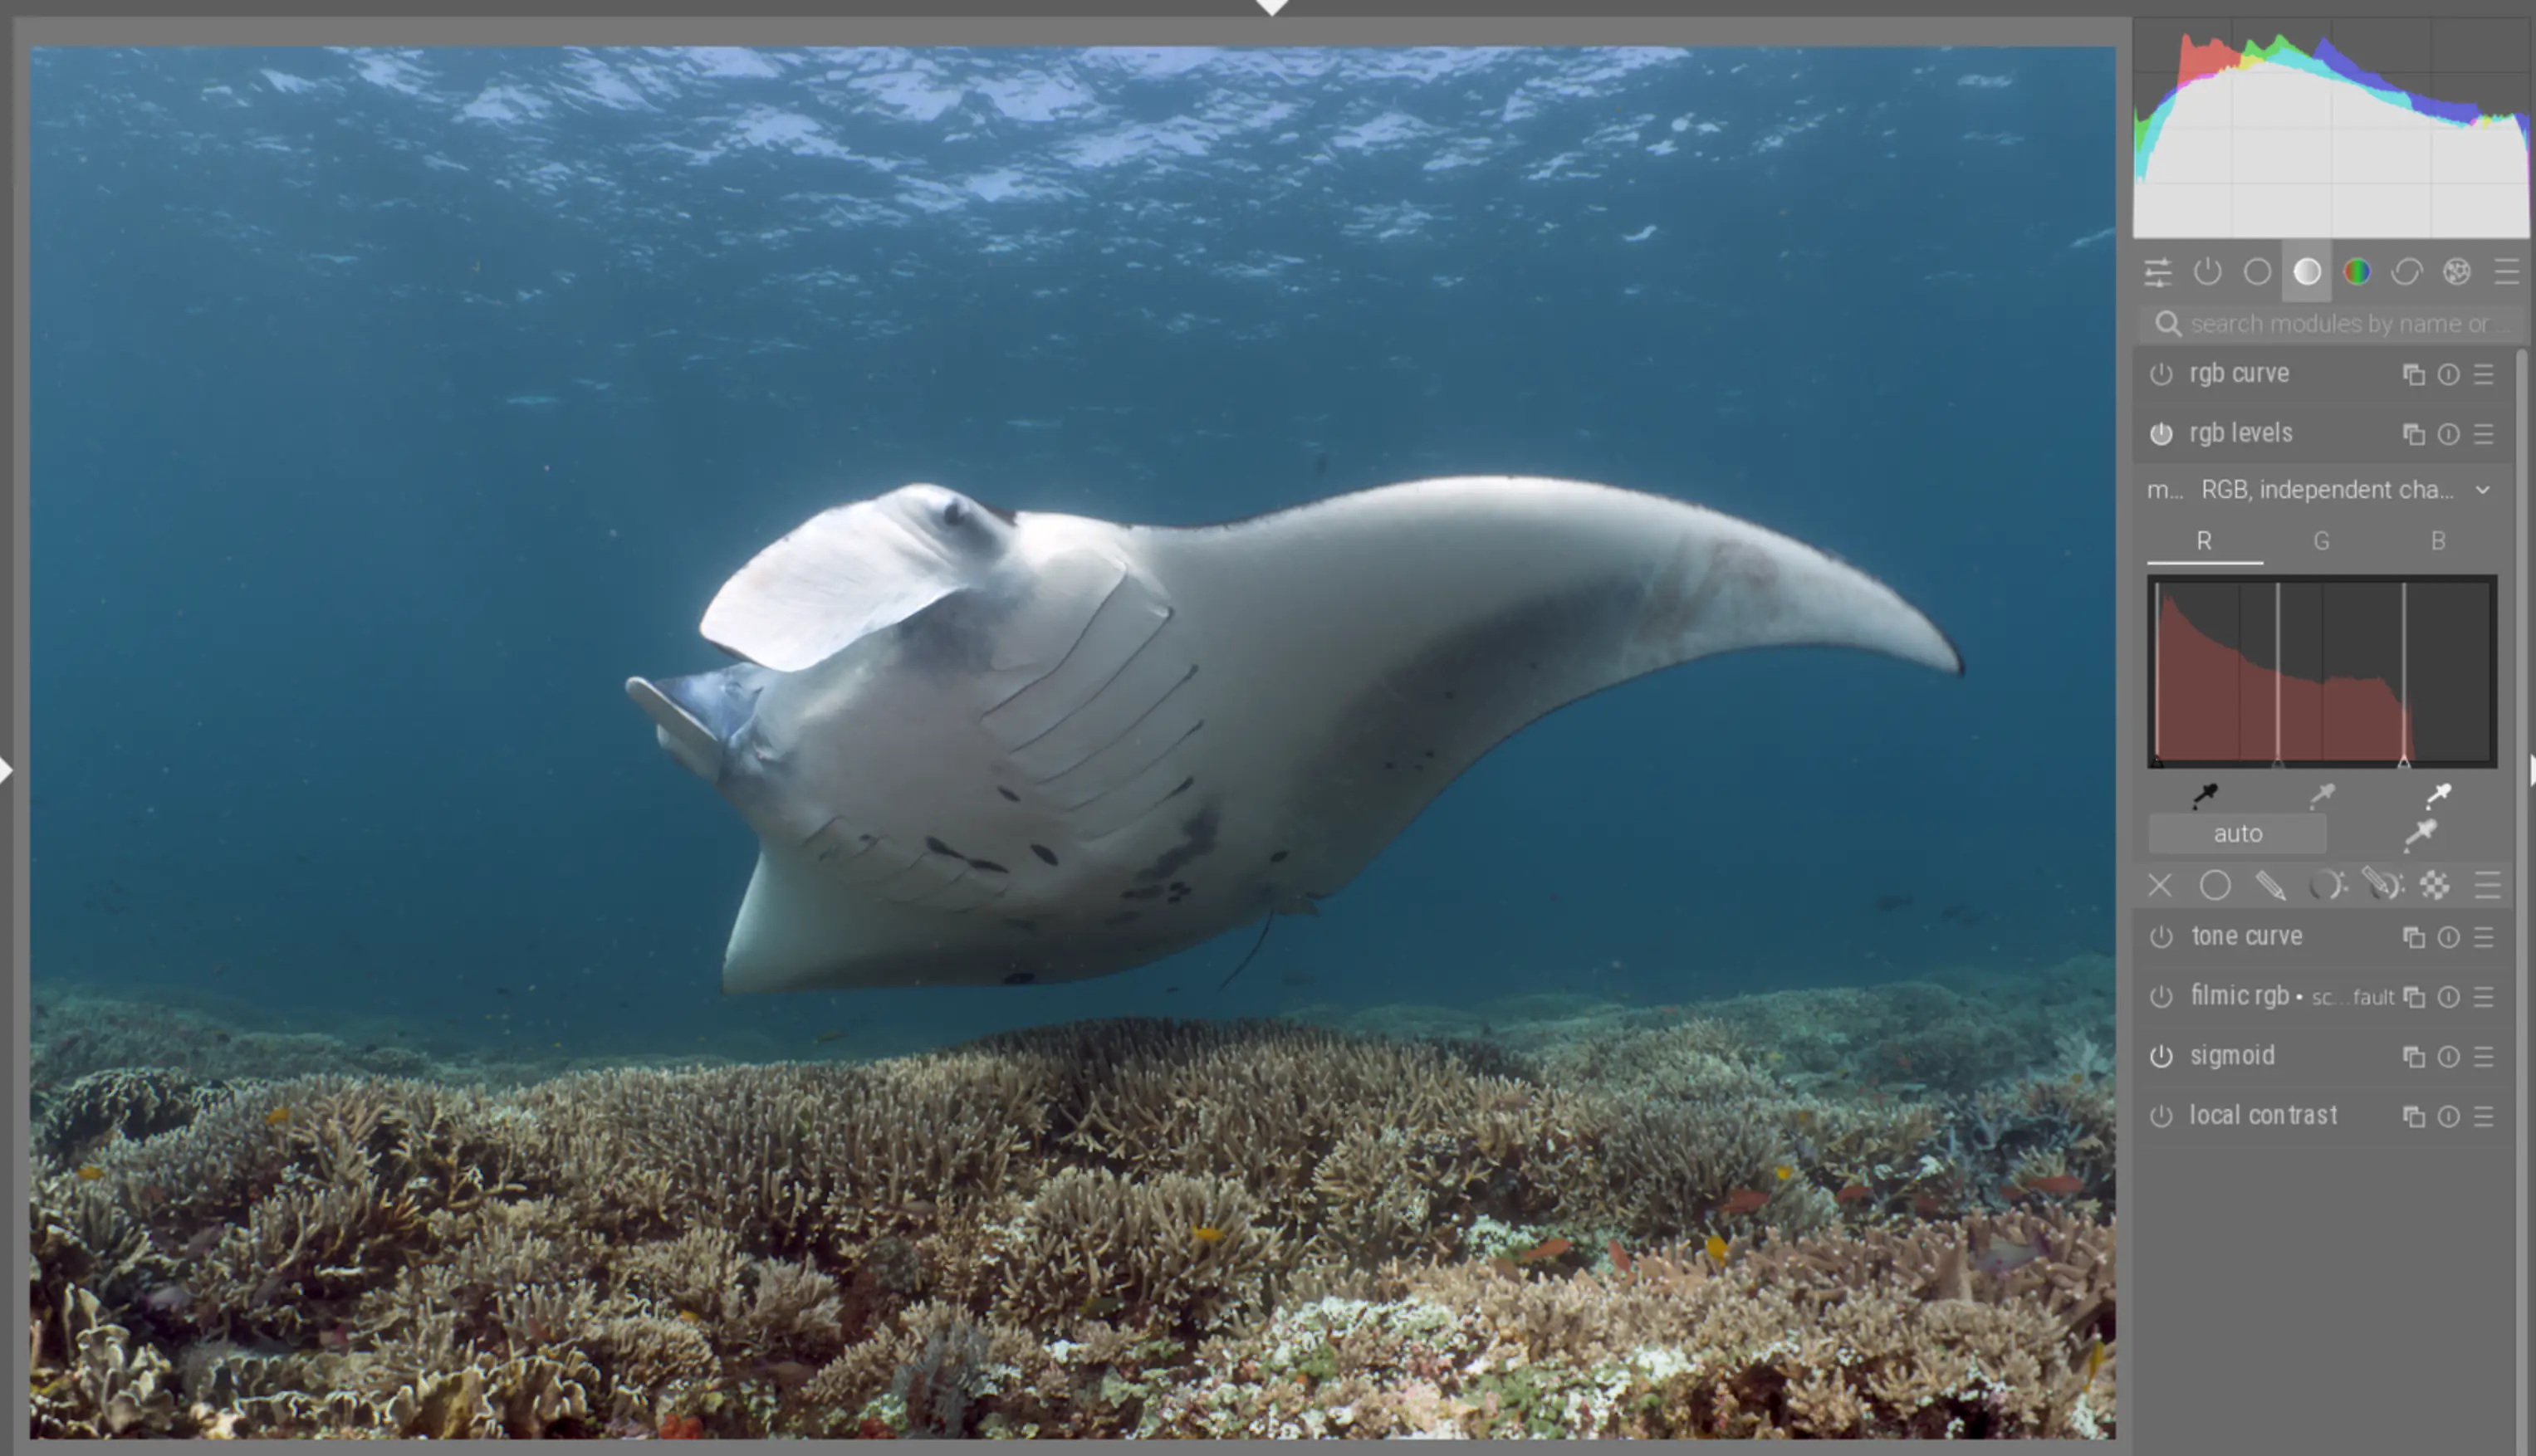
This filter can have a huge effect. Go slowly with each movement of the sliders.
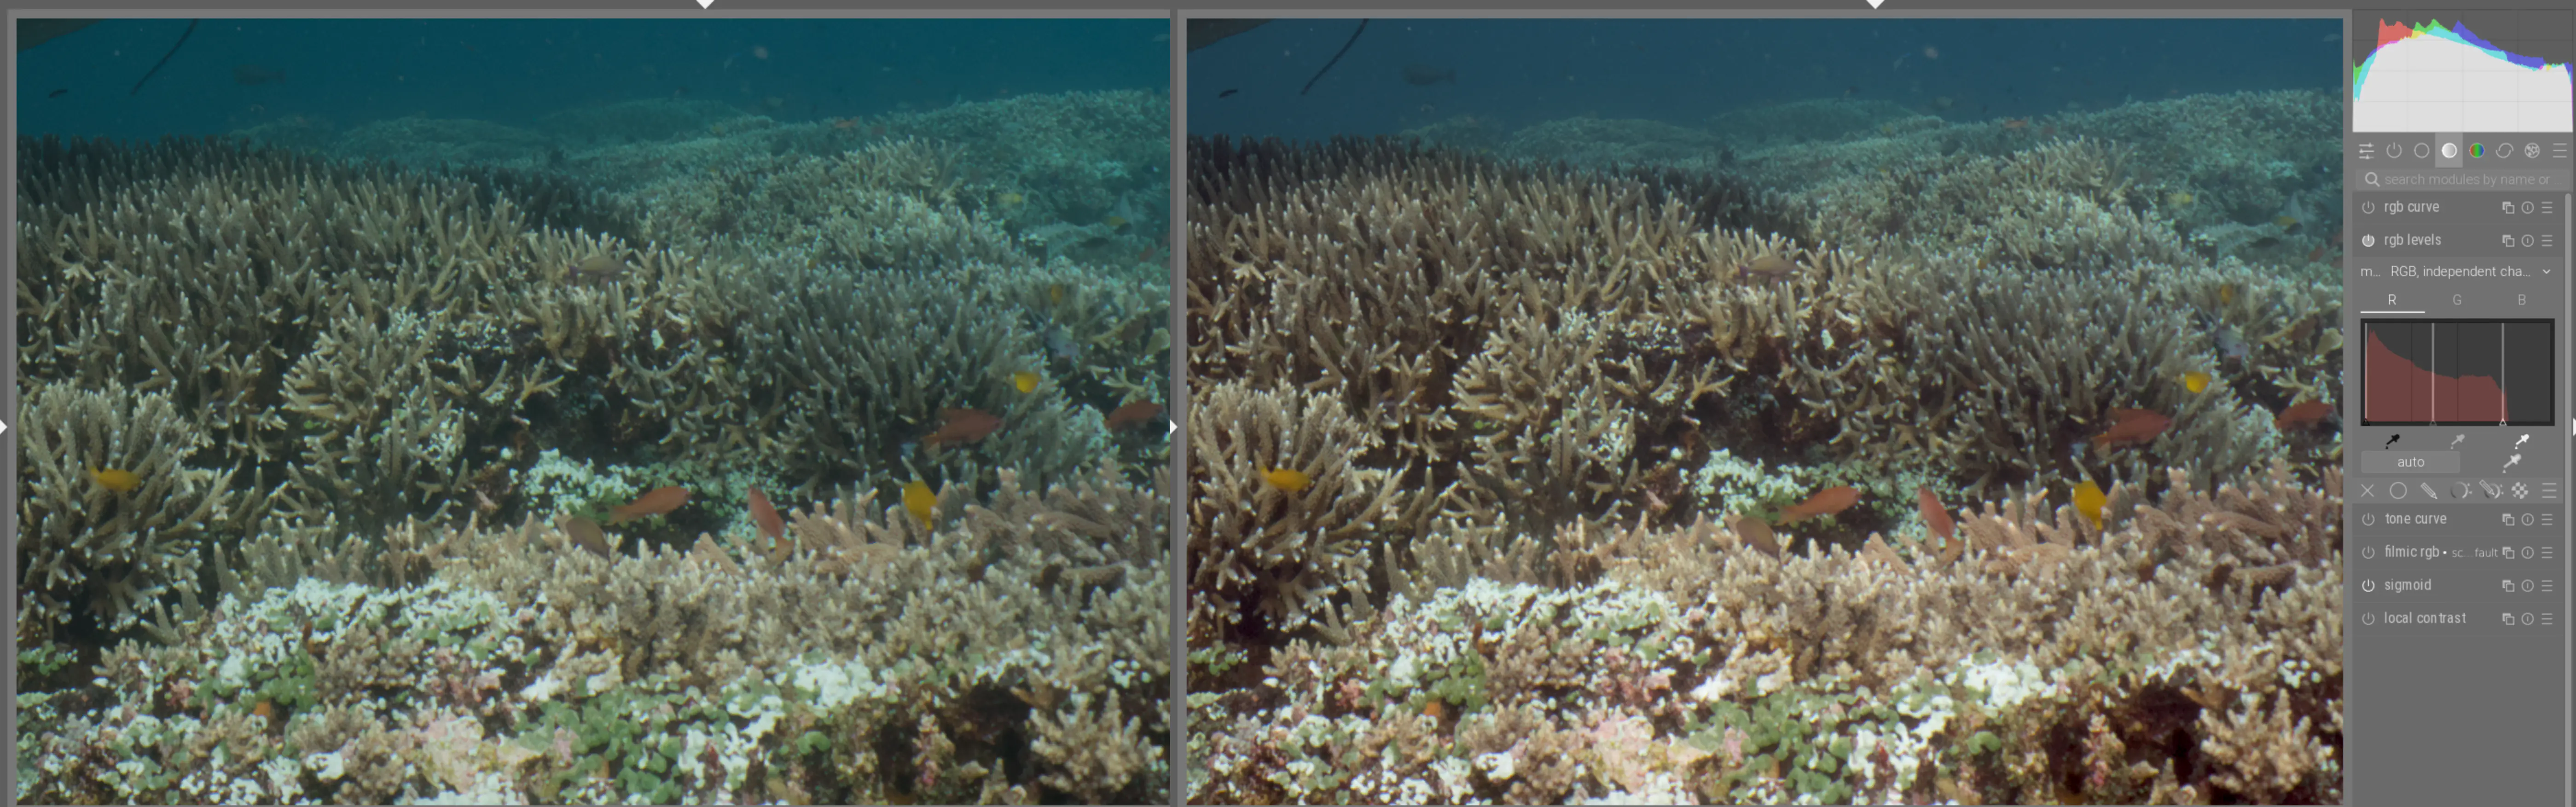
A closer look at the before (left) and after (right).
You may also notice in the histogram (top right corner) the increased dynamics of the photo - now we have actual whites and blacks.
Next, to target the highlights specifically, I will use the color zones filter on the aqua’s (between the greens and blues). Again, I don’t want to completely eliminate them. First, I will click on the eyedropper tool, and select a white/gray area where I want to reduce the aqua’s:
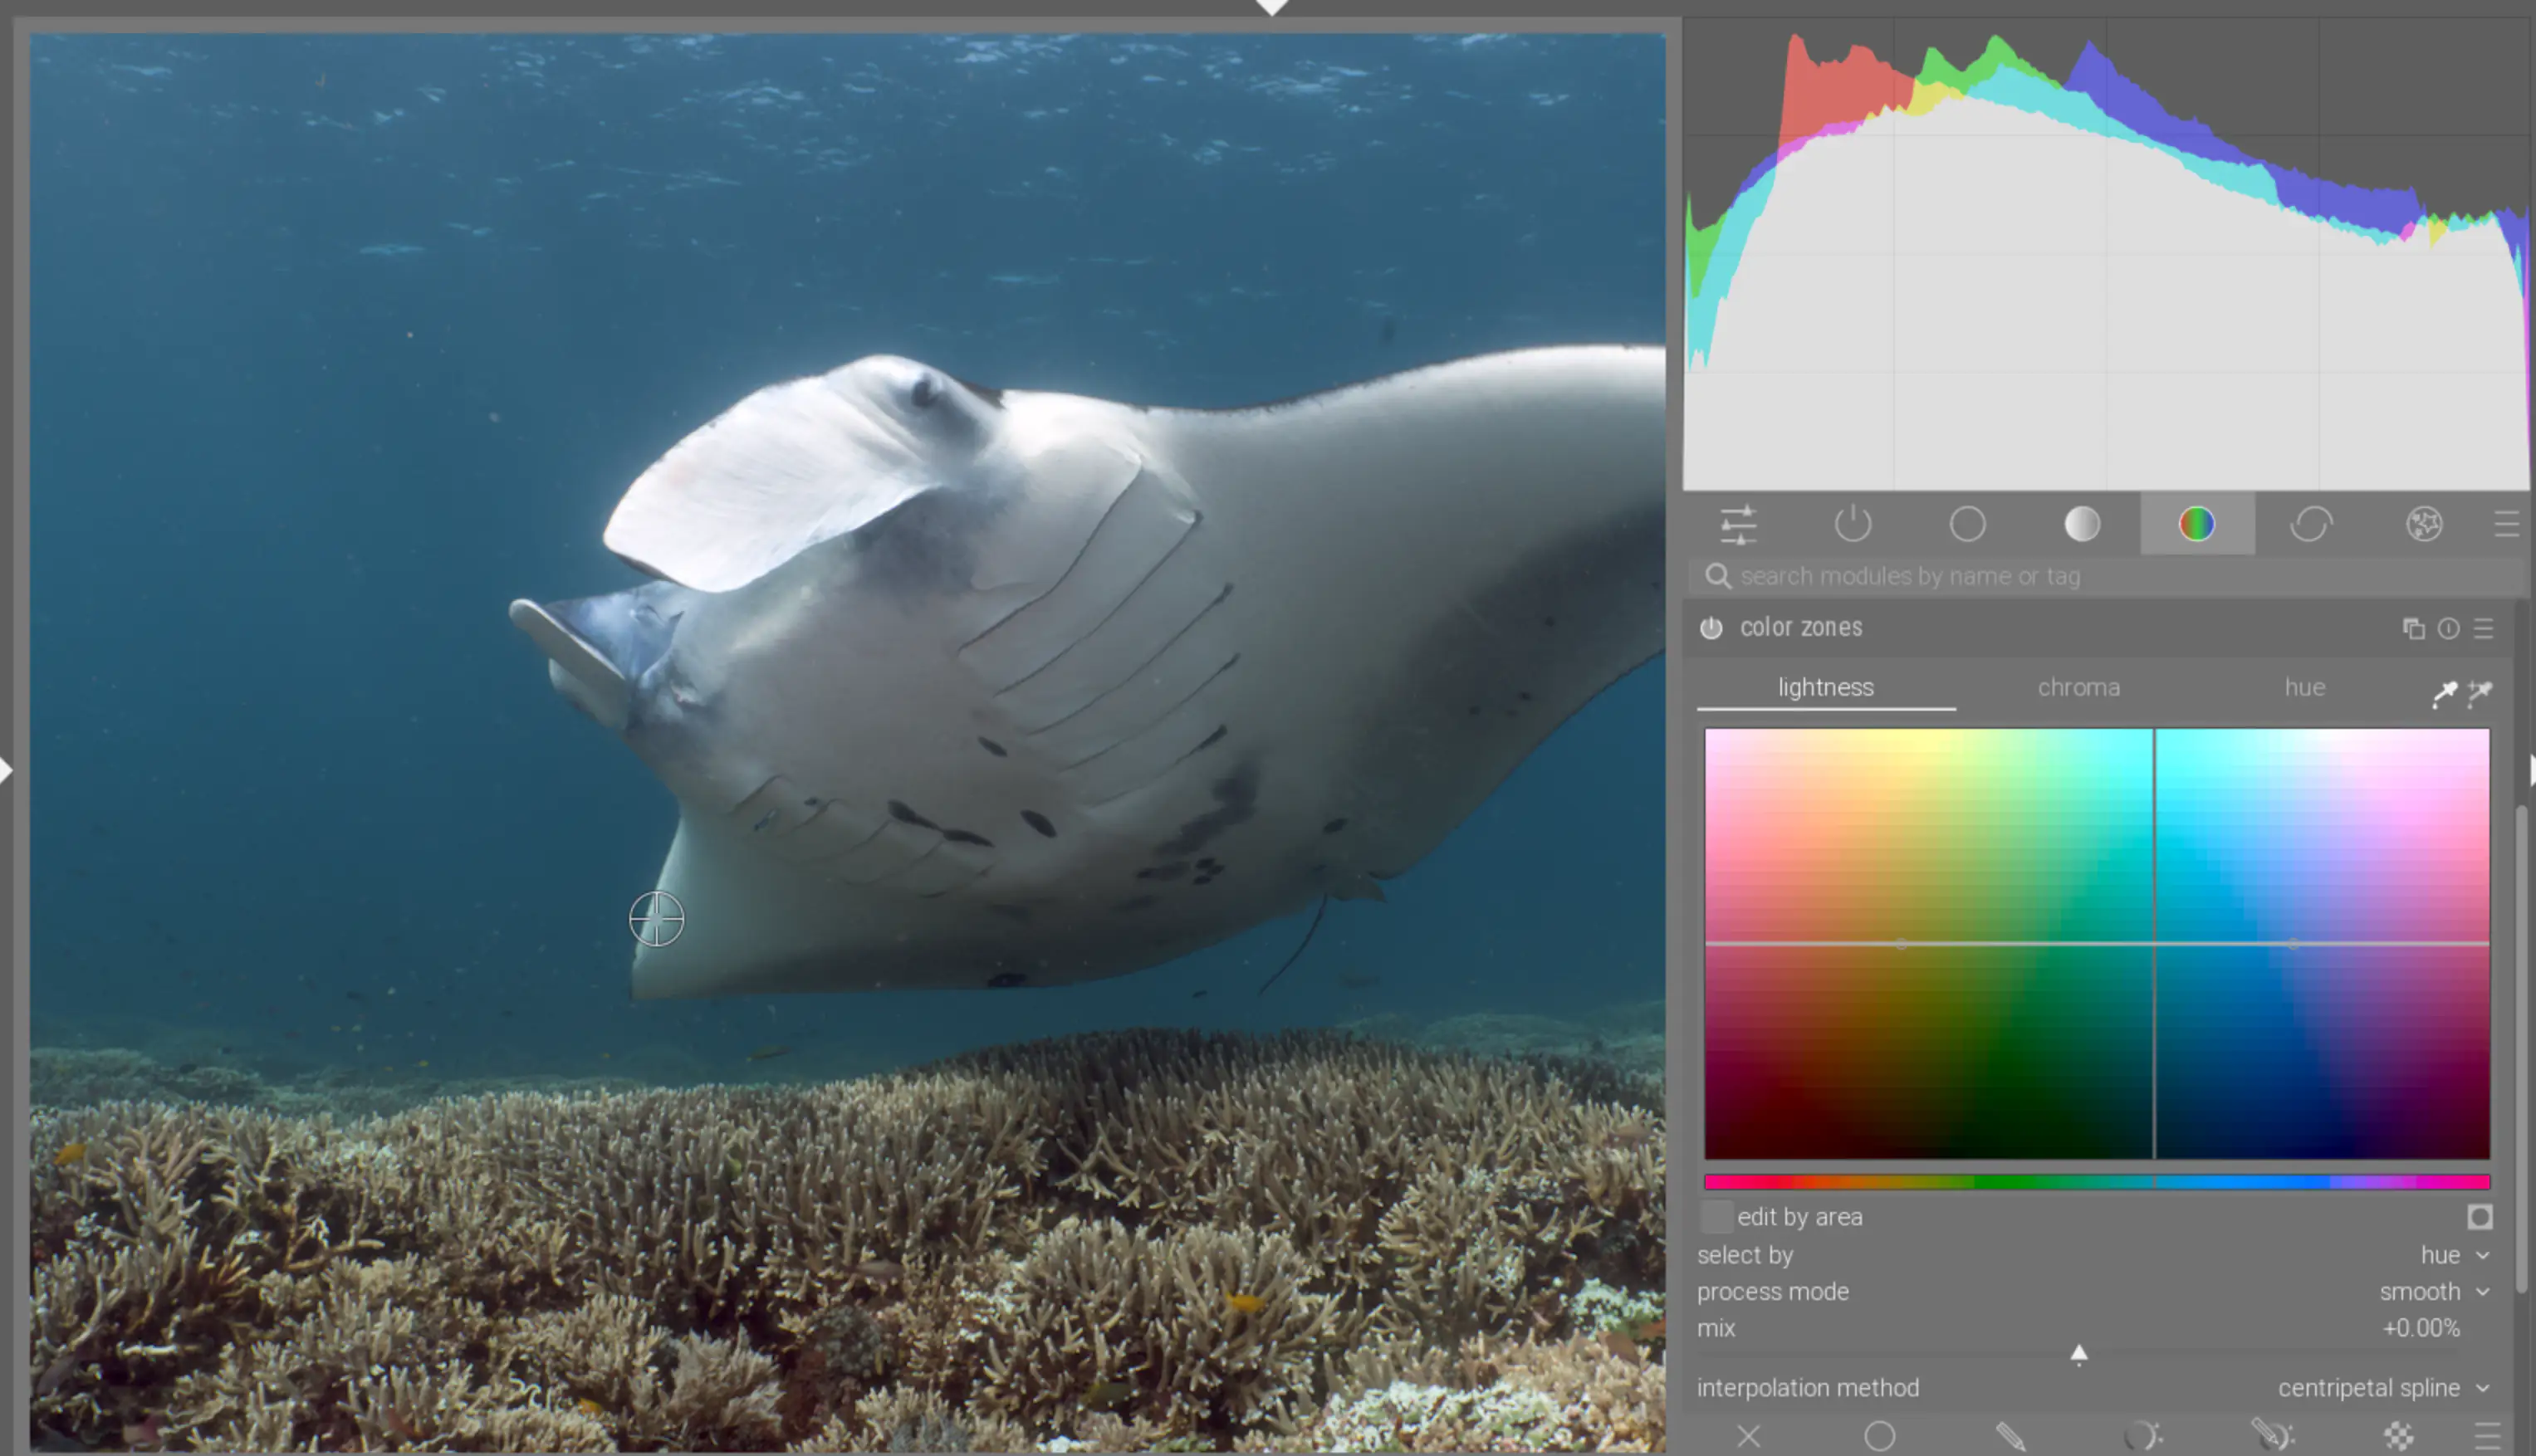
The eye dropper gives me an accurate location on the color spectrum (the vertical line).
Next I will use the three tabs to the following effect:
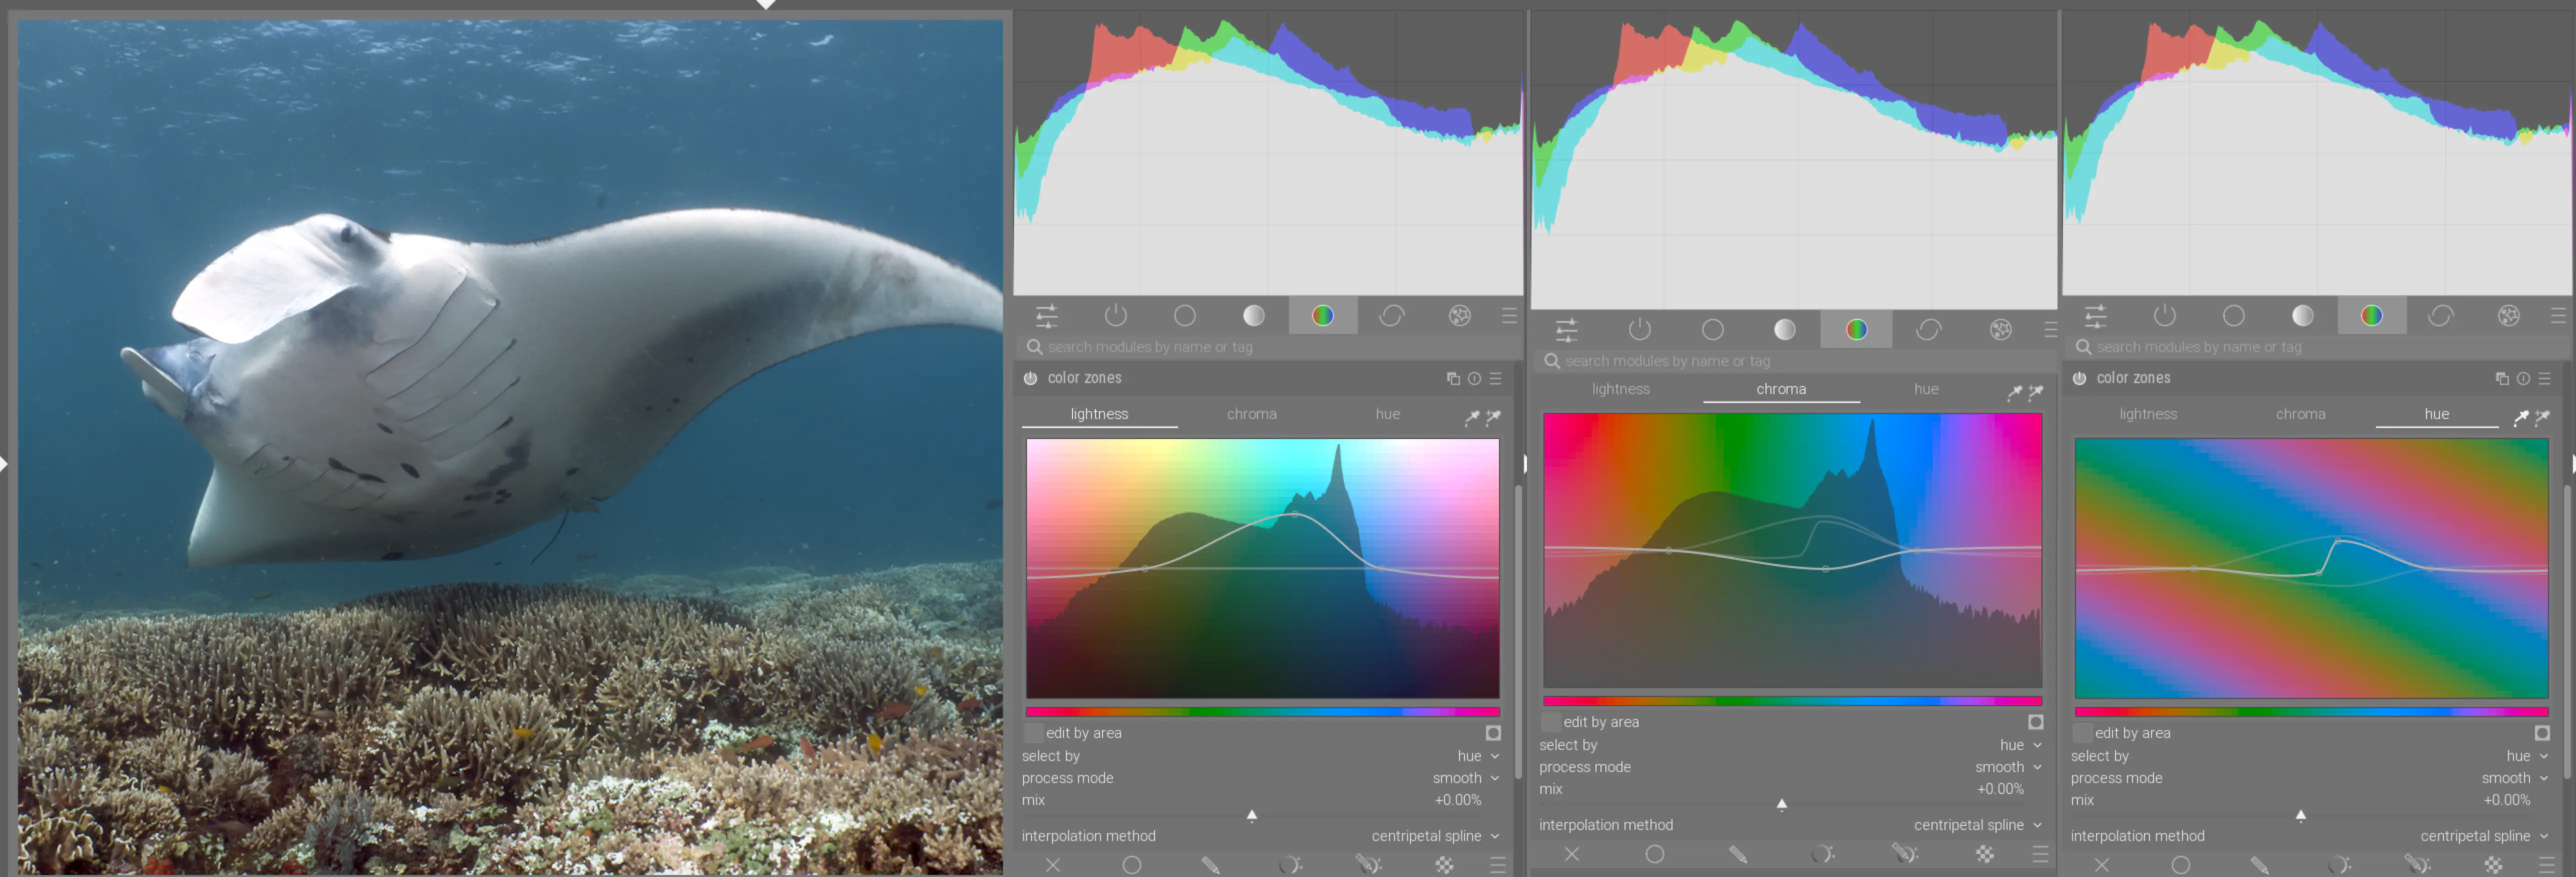
Perhaps I’ll turn this into a GIF later to better show the process.
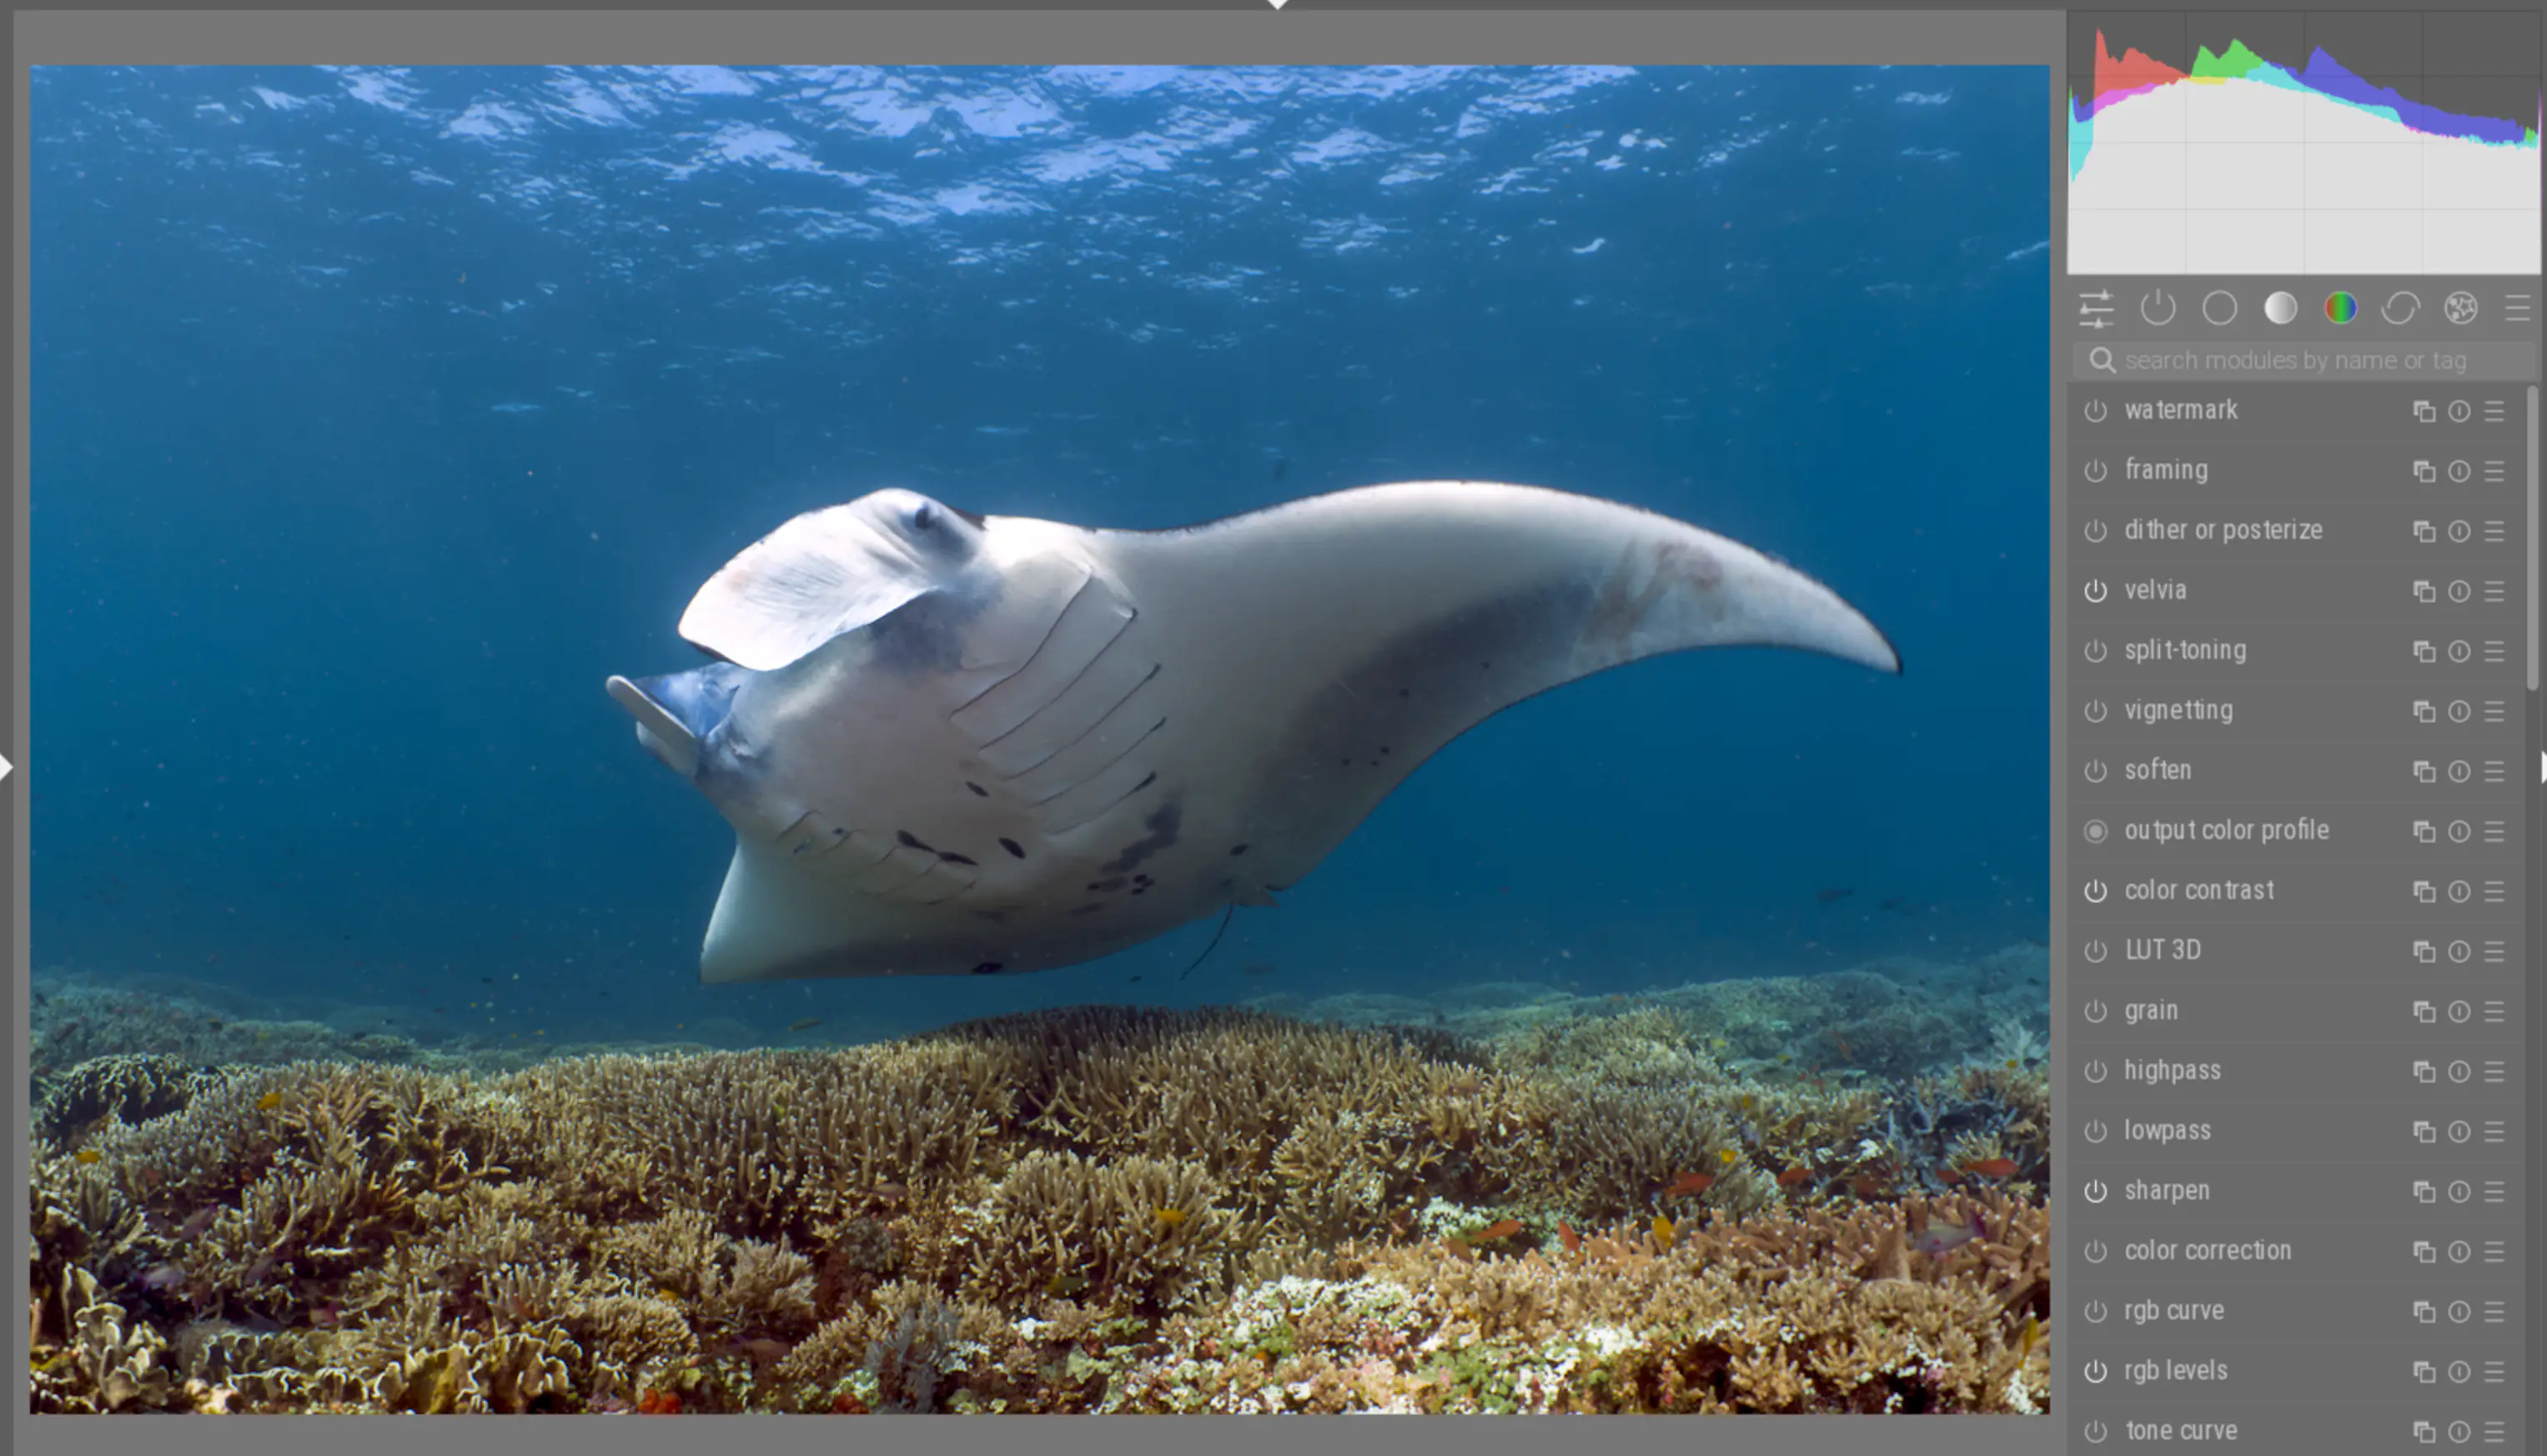
After this, I apply other filters to reduce haze, bring out more saturation, contrast, etc. Here’s roughly what the edit looked like before passing the image over to GIMP:
In GIMP, I do more fine tuning, reduce backscatter, and give it final sharpening.
I could easily say this photo was also about planning and learning to be patient, waiting for the right moment, etc. But one of the most important things I learned was to put my camera aside. Like many divers, I often find myself trapped in the mindset of “this is a photo dive”, “I have to take as many photos as possible”! When the reality is quite the opposite.
I find that the more photos I take on a dive, the worse the quality of the photos. Thus, we must shift our mindset from “I’m a photographer”, to “I’m on a dive and happen to have my camera for a few special moments”. This allows me to fall back into the role of the observer, letting the world happen around me. This opens my mind to feelings of amazement, majesty, and appreciation for the ocean.
This is why I fell in love with diving in the first place. So what better way to “find” a photograph than to experience the ocean, and then take a photo of that experience.
When we are scuba diving, we are instantly transported into an alien world, full of wonder and mystery. That feeling is what keeps me coming back. I could say the same for lots of daily things we take for granted. Sometimes it’s better to put the “screen” aside, take a breath, and be in the moment.
Diving among manta rays is always spectacular. There is no other way to describe watching these gentle giants swirl and weave above the fragile corals. But they are under threat like many ocean creatures. We must fight to protect our oceans from the suffocating amount of plastic we are producing, the damaging effects of over-fishing, and of course the warming oceans.
I hope you found this write-up informative if nothing else, and I welcome your comments and suggestions in the comments section below. Thank you for reading.
Melasti - Amed, Bali, Indonesia - 2019
Welcome to my first post in a series which I intend to continue for most of my photographs. For a short explanation on why it is the way it is, I wrote another blog post setting out a little “manifesto” on these posts. I hope it inspires you, and encourages you to care a little bit more about our beautiful planet.
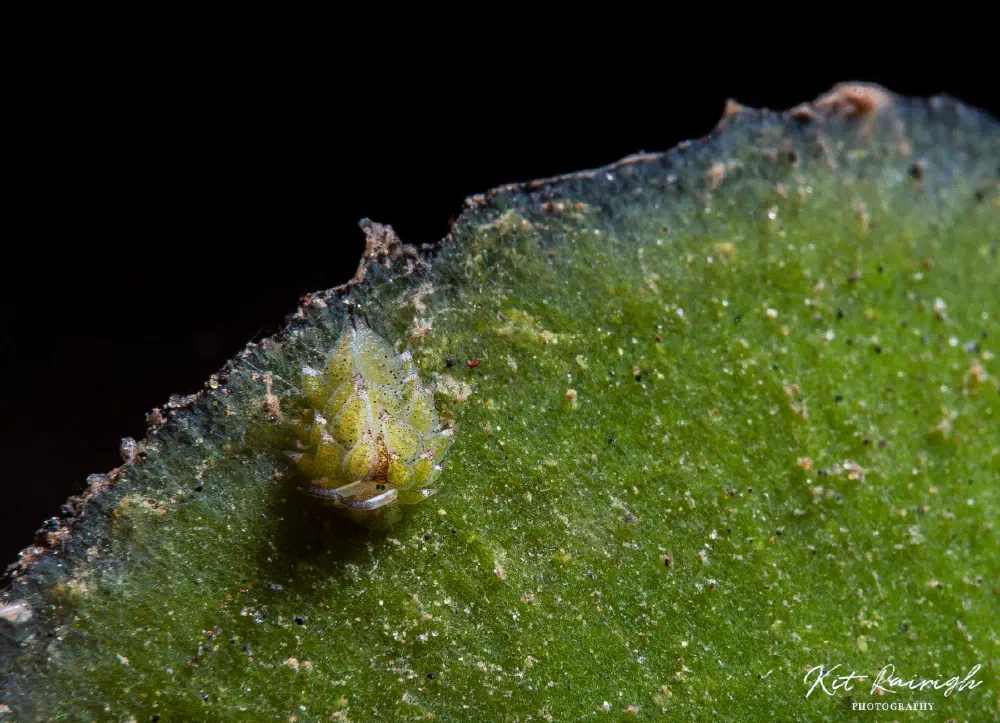
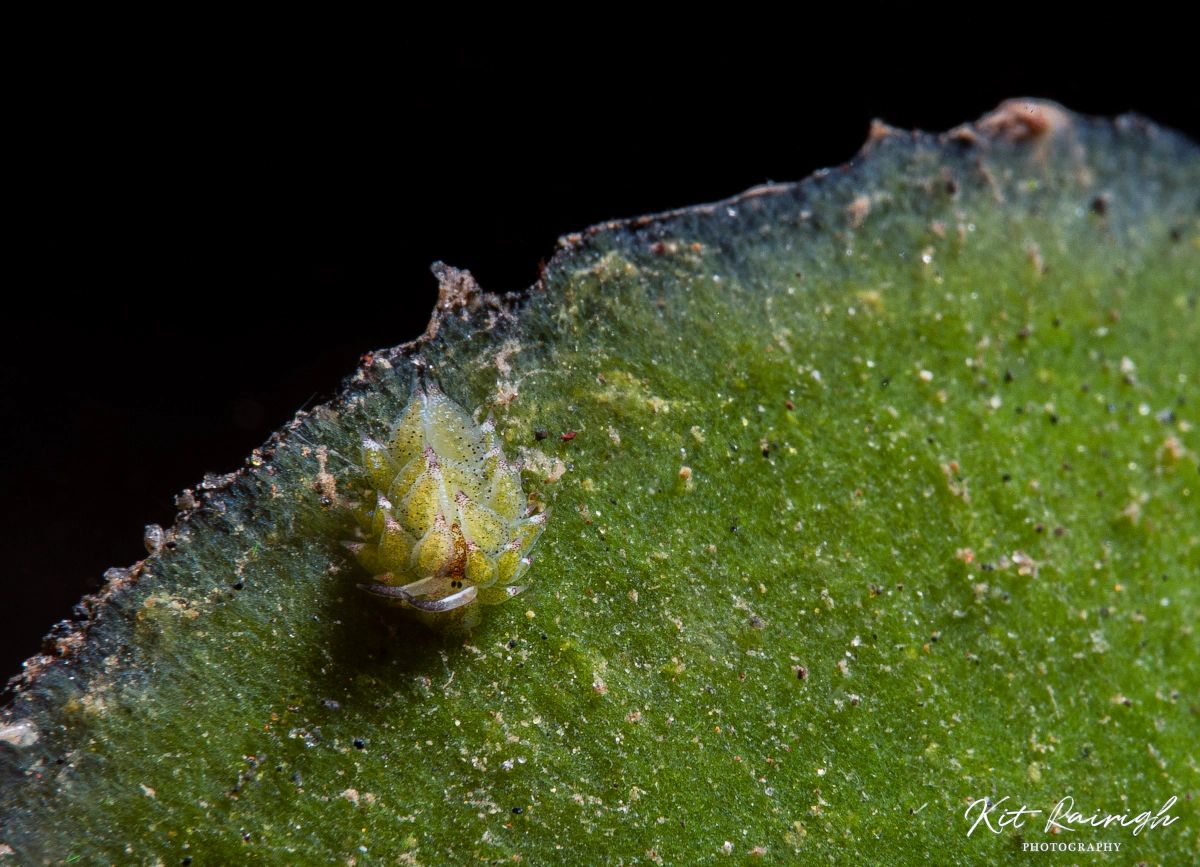
I had first heard about these tiny “sheep nudibranchs” from another diving photographer who was into macro photography. When I first saw a photo of one I nearly laughed. This little goofy thing can’t be real!
At the time I took this photo, I was working at a dive center on Bali, Indonesia with my wife. We would often go “fun diving” on our days off. While teaching and guiding I almost never bring my camera with me to ensure my students and divers are my only focus. I truly relish in the fun dives as a chance to fully relax and enjoy the zen of diving in tranquility.
One evening, we decided to dive at an easy and shallow dive site at the end of our street - Melasti. The site itself is a unassuming, and mostly sand. But there are patches of algae and rocks where life has taken hold. This is known as a “muck” dive: most of the creatures are small, very-well camouflaged, and require patience to find.
The dive started as normal, with my wife and I pointing out various shrimp, fish, eels, or an occasional cephalopod (think octopus, squid, or cuttlefish). About halfway through the dive, I wandered out to the deeper and more barren sandy patch before the site’s decent to deeper water. Here I searched patches of small green leaves for any signs of these elusive sea slugs. When I finally found one, I was so excited to show my wife.
Communicating underwater is typically done with hand signals. The hand signal for a nudibranch is showing the number 2 and bending the fingers forward like floppy rabbit ears. I gave her the hand signal and pointed to where I’d seen it. At first she couldn’t find it since it was so tiny. And since we hadn’t agreed upon a hand signal to describe this specific nudibranch, the only thing I could think of was to bleat like a sheep into my regulator.
“BAAA-AH-AH-AH-AH!”
Many laughs were had.
Costasiella kuroshimae. This one was tiny: about the size of the tip of a ballpoint pen. The green parts in its body are actually chloroplasts (think photosynthesis from your intro biology class) taken from the leaf it feeds on. Some scientists affectionately call these kleptoplasts. These stored chloroplasts actually allow the slug to absorb nutrients created by photosynthetic action. Thus, it is a solar-powered sea slug.
The effect of a warming climate on little nudibranchs like this one is still largely unknown. Other molluscs have been struggling with warming and acidifying waters as bacterial infections increase and struggling to maintain strong shells. Either way, I hope to continue sharing some of the beautiful creatures that live just under the surface to encourage others to take up the fight in protecting our oceans.
Each underwater photo comes with it’s own challenges. This dive site is particular in that it is very shallow (3-6m), and right on the coast. There are days when the water is still and crystal clear. But most days there are waves. And while we are far enough from the shore to not be affected directly by the waves, there is still a surge. This surge will pull you back and forth, to and fro, perpendicular to the shore. And on top of that, few sites on Bali, or in Indonesia for that matter, are protected from constant current. This site normally had a mild to moderate current. This is the constant water movement along, or parallel to, the shore.
These two factors mean the water is often turbulent, turbid, and frustrating for a photographer. All of this movement means the leaf on which the nudibranch was crawling, is in constant motion. To counteract this, I’ve seen underwater photographers steady themselves in all the wrong ways: Using “sticks” - plunging them deep into the sand, holding onto a rock or coral - often breaking or crushing an organism, or laying on the sea floor - disturbing or crushing anything in their path, fins everywhere.
These are bad habits that damage the environment. Furthermore none of those “techniques” are required to take a good photo. We must prioritize taking care of the environment over capturing a photo.
The trick is to have perfect buoyancy, good lighting, and great timing:
Remember that we are entering their home. We are the intruders. Let’s enjoy it, and leave no footprint of our presence.
A very smart person once taught me that the better the photo going in, the better the photo coming out! The less we have to touch it the better!
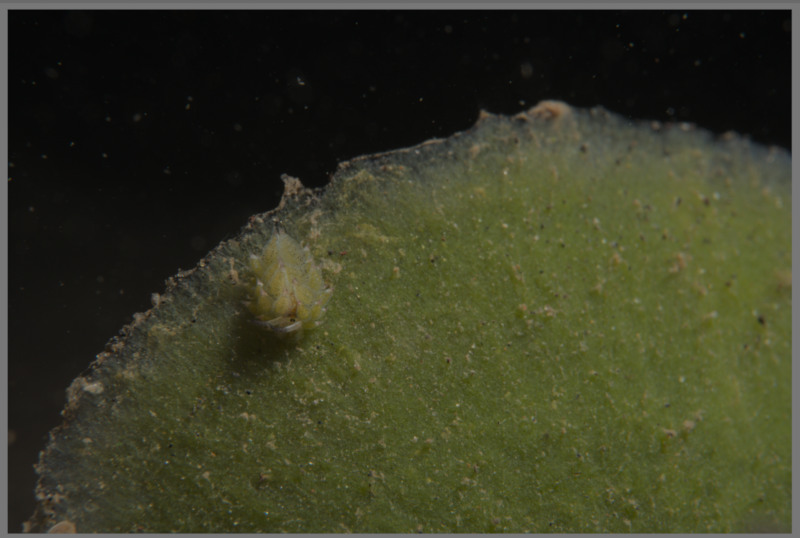
Raw photos can be deceiving.
Well I didn’t really accomplish that here. At first glance it’s quite obvious that the photo is underexposed. This is easily confirmed by looking at the histogram.
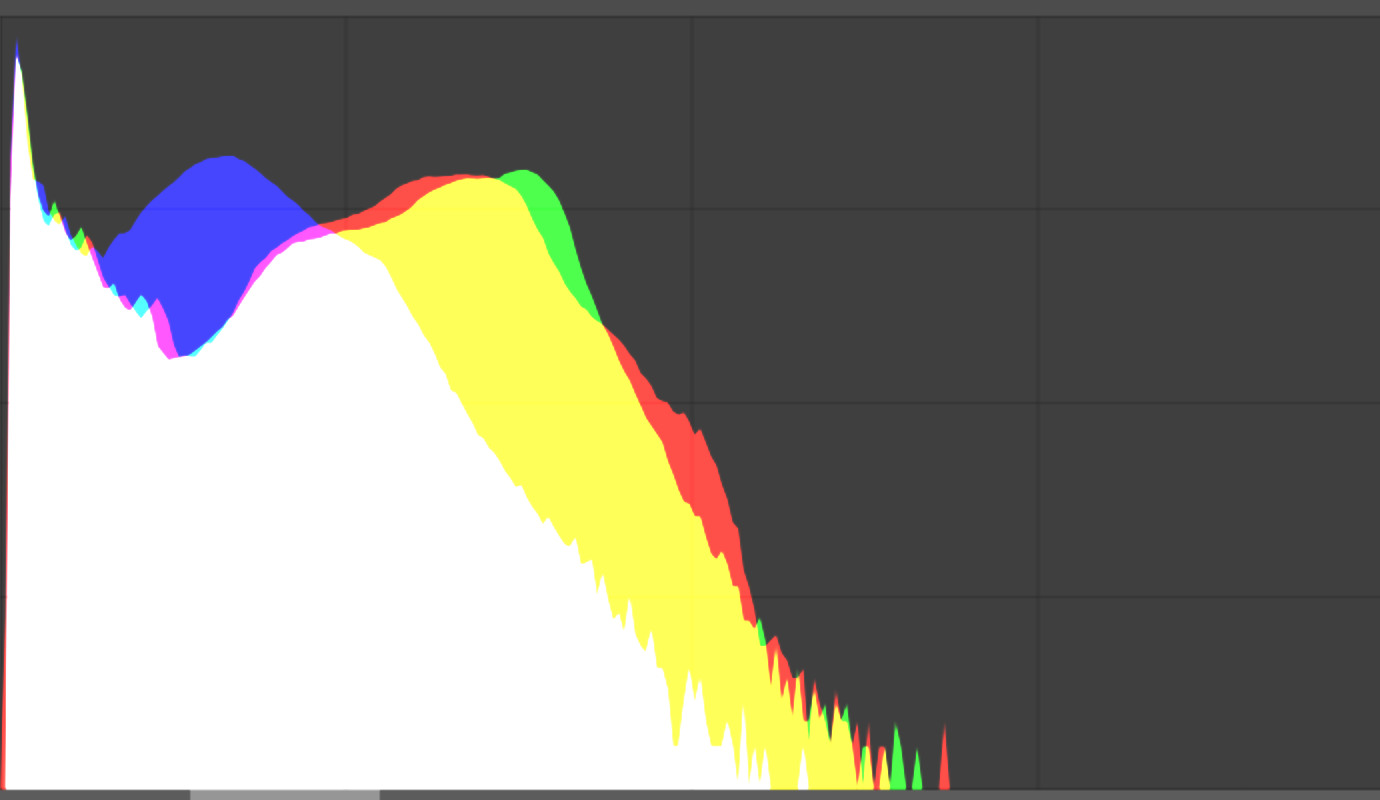
The x-axis represents blacks (left) through grays (center) to whites (right).
But before going further, let’s talk about how this photo was taken.
My underwater camera is a SONY a6500. For now I’m still using the kit lens as it fits nicely inside a relatively small package and has a decent focal length of 16-50mm. Since changing lenses underwater is (sort of) impossible, I have been happy with this setup so far. In this photo I am using a macro accessory lens that takes this tiny, ball-point-pen-tip sized nudibranch to a size we can easily view. That doesn’t mean I got it right on the first try.
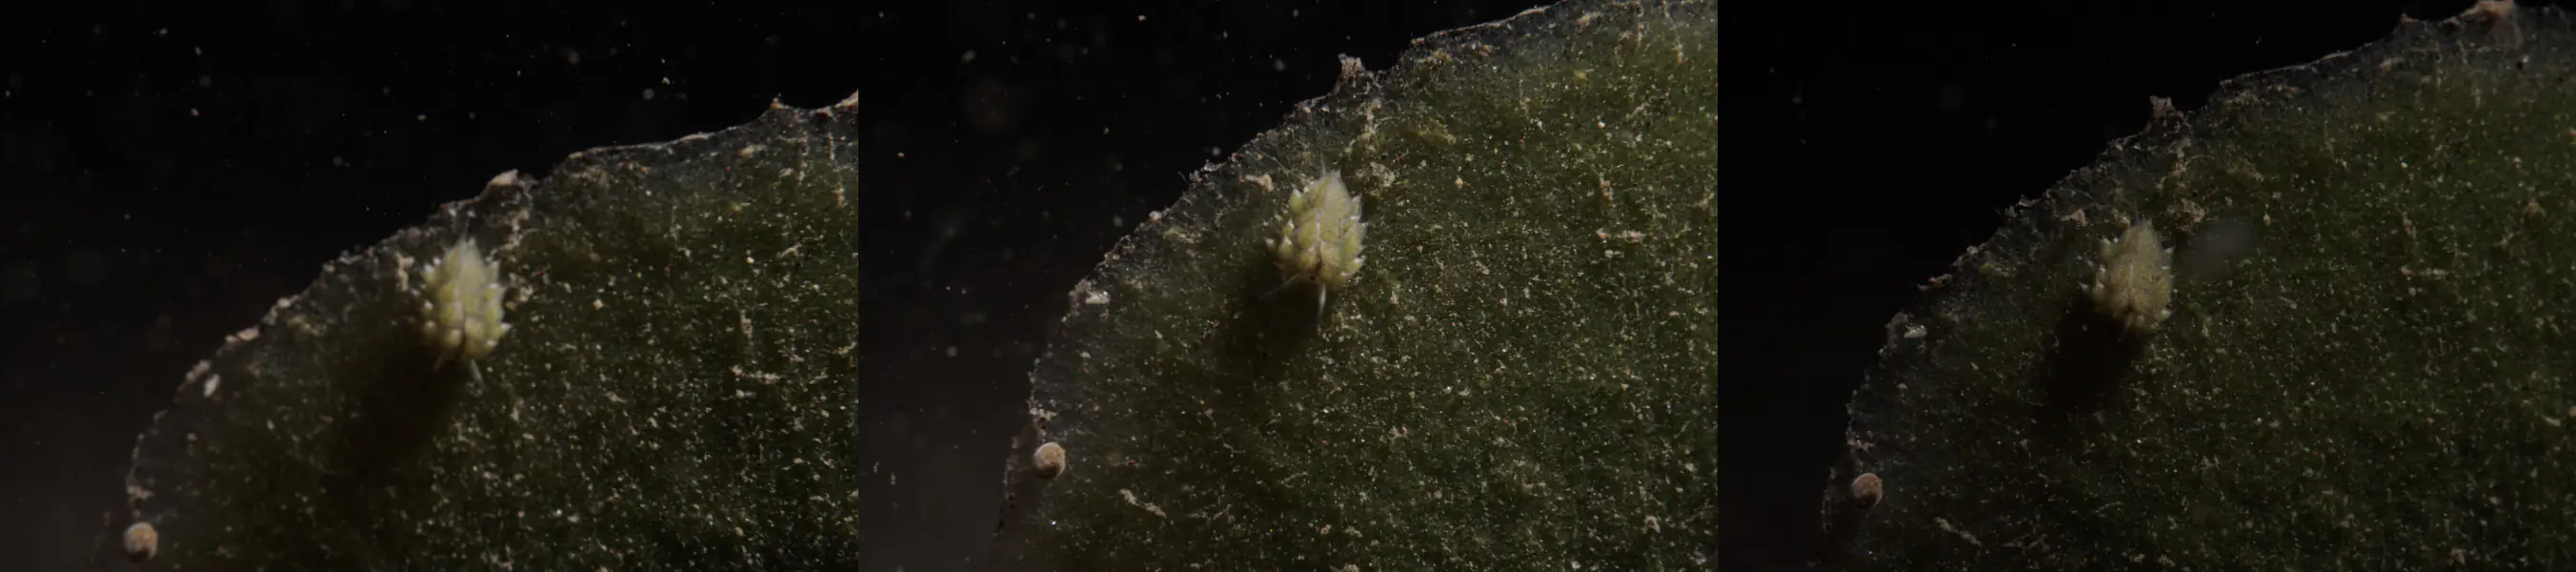
Notice the poor focus and underexposure.
So why are the images so dark? Well a few reasons:
Because I shoot in raw format, even photos like this one have plenty of information to bring up the exposure and end up with a great image.
I also really liked the composition, position of the subject, and the “facial” expression it’s giving me. Most of my other shots did not really give a good view of the creature’s face, which I find important when taking photos of “alien” creatures that most people will not be able to identify in the first place!
I don’t intend to walk through the ENTIRE process, but highlight a single step in more detail. Throughout my blog posts I hope to cover more and more of the steps to show a bit about how they all are important and what aspects I’m looking at while doing that edit.
Opening raw files directly into my preferred photo manipulation software (GIMP) is not possible. Thus we must use a program like Raw Therapee or Darktable. Both are honestly great, but I’ve gotten comfortable using Darktable.
For this photo the first thing I will do is fix the exposure:
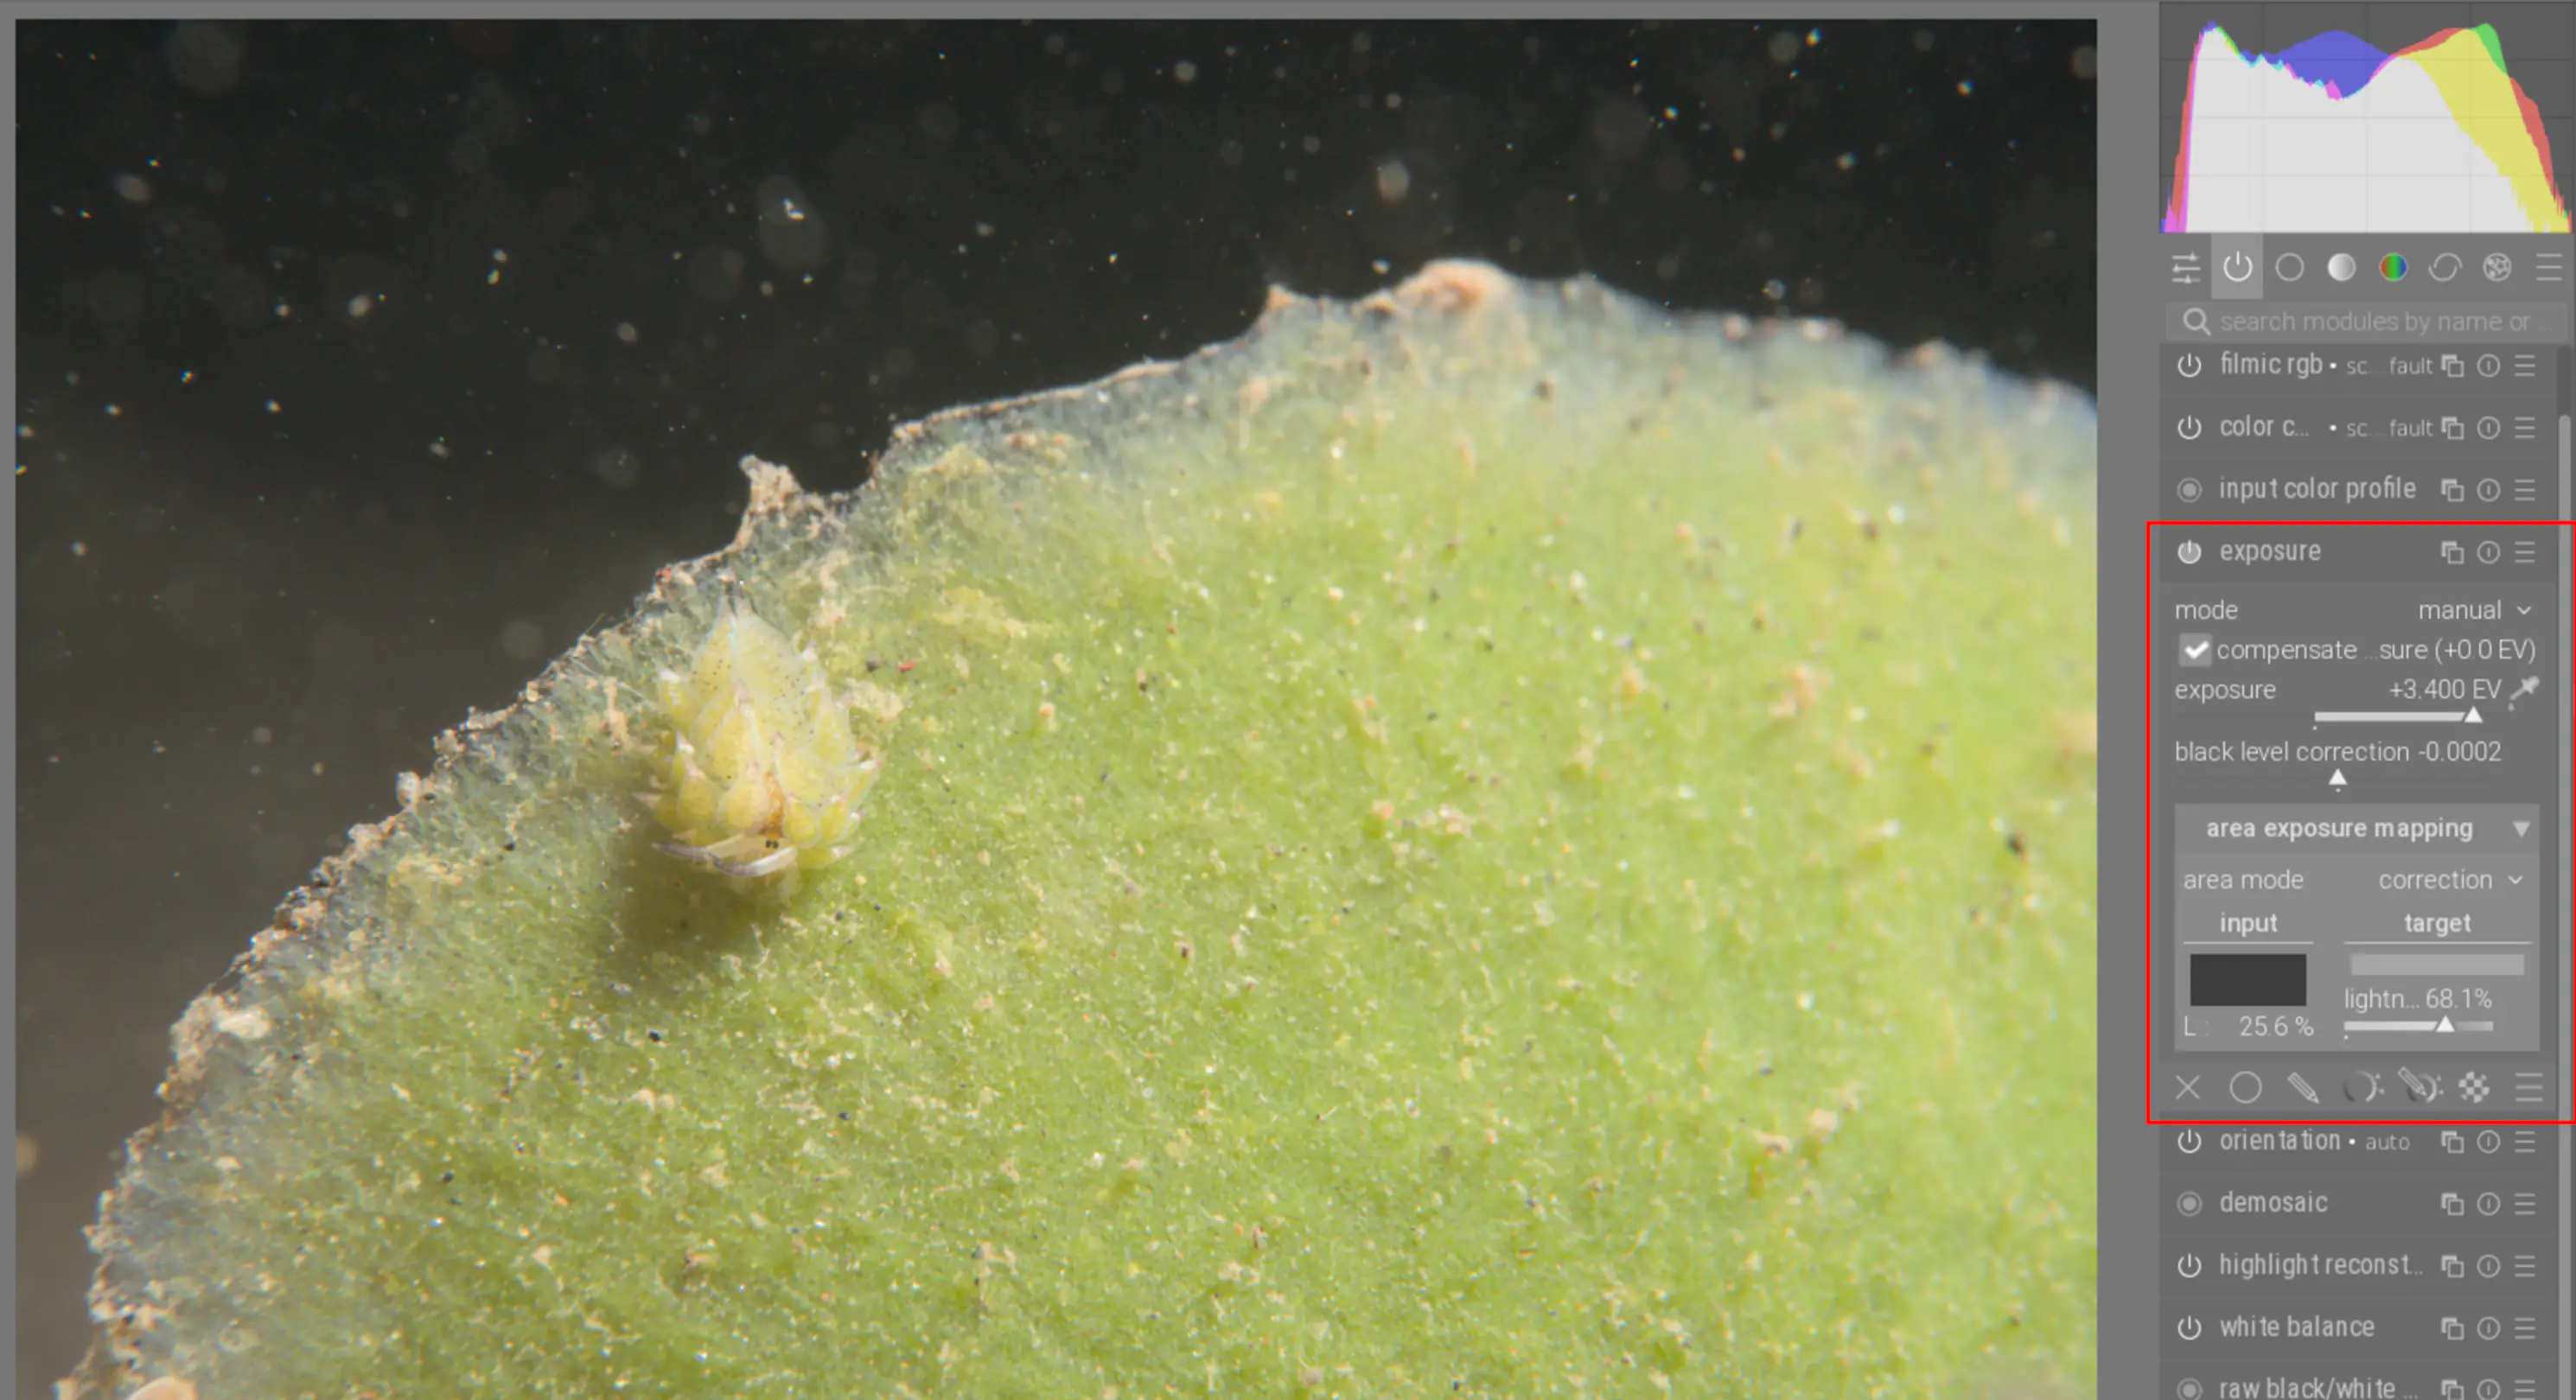
+3.400! Hmmm perhaps that’s a bit TOO underexposed, but considering my other images, I will work with it.
However, I want to be careful how much I play with this setting. To be sure I don’t overexpose areas on the image, I will use Darktable’s “raw overexposed” and “clipping masks”. These will highlight in red/blue which areas are poorly exposed. I will often click them on to be sure I haven’t accidentally pushed a critical part of the image into a clipped/overexposed area.
This doesn’t only apply to the “exposure” filter. I also use this setting when dealing with other filters.
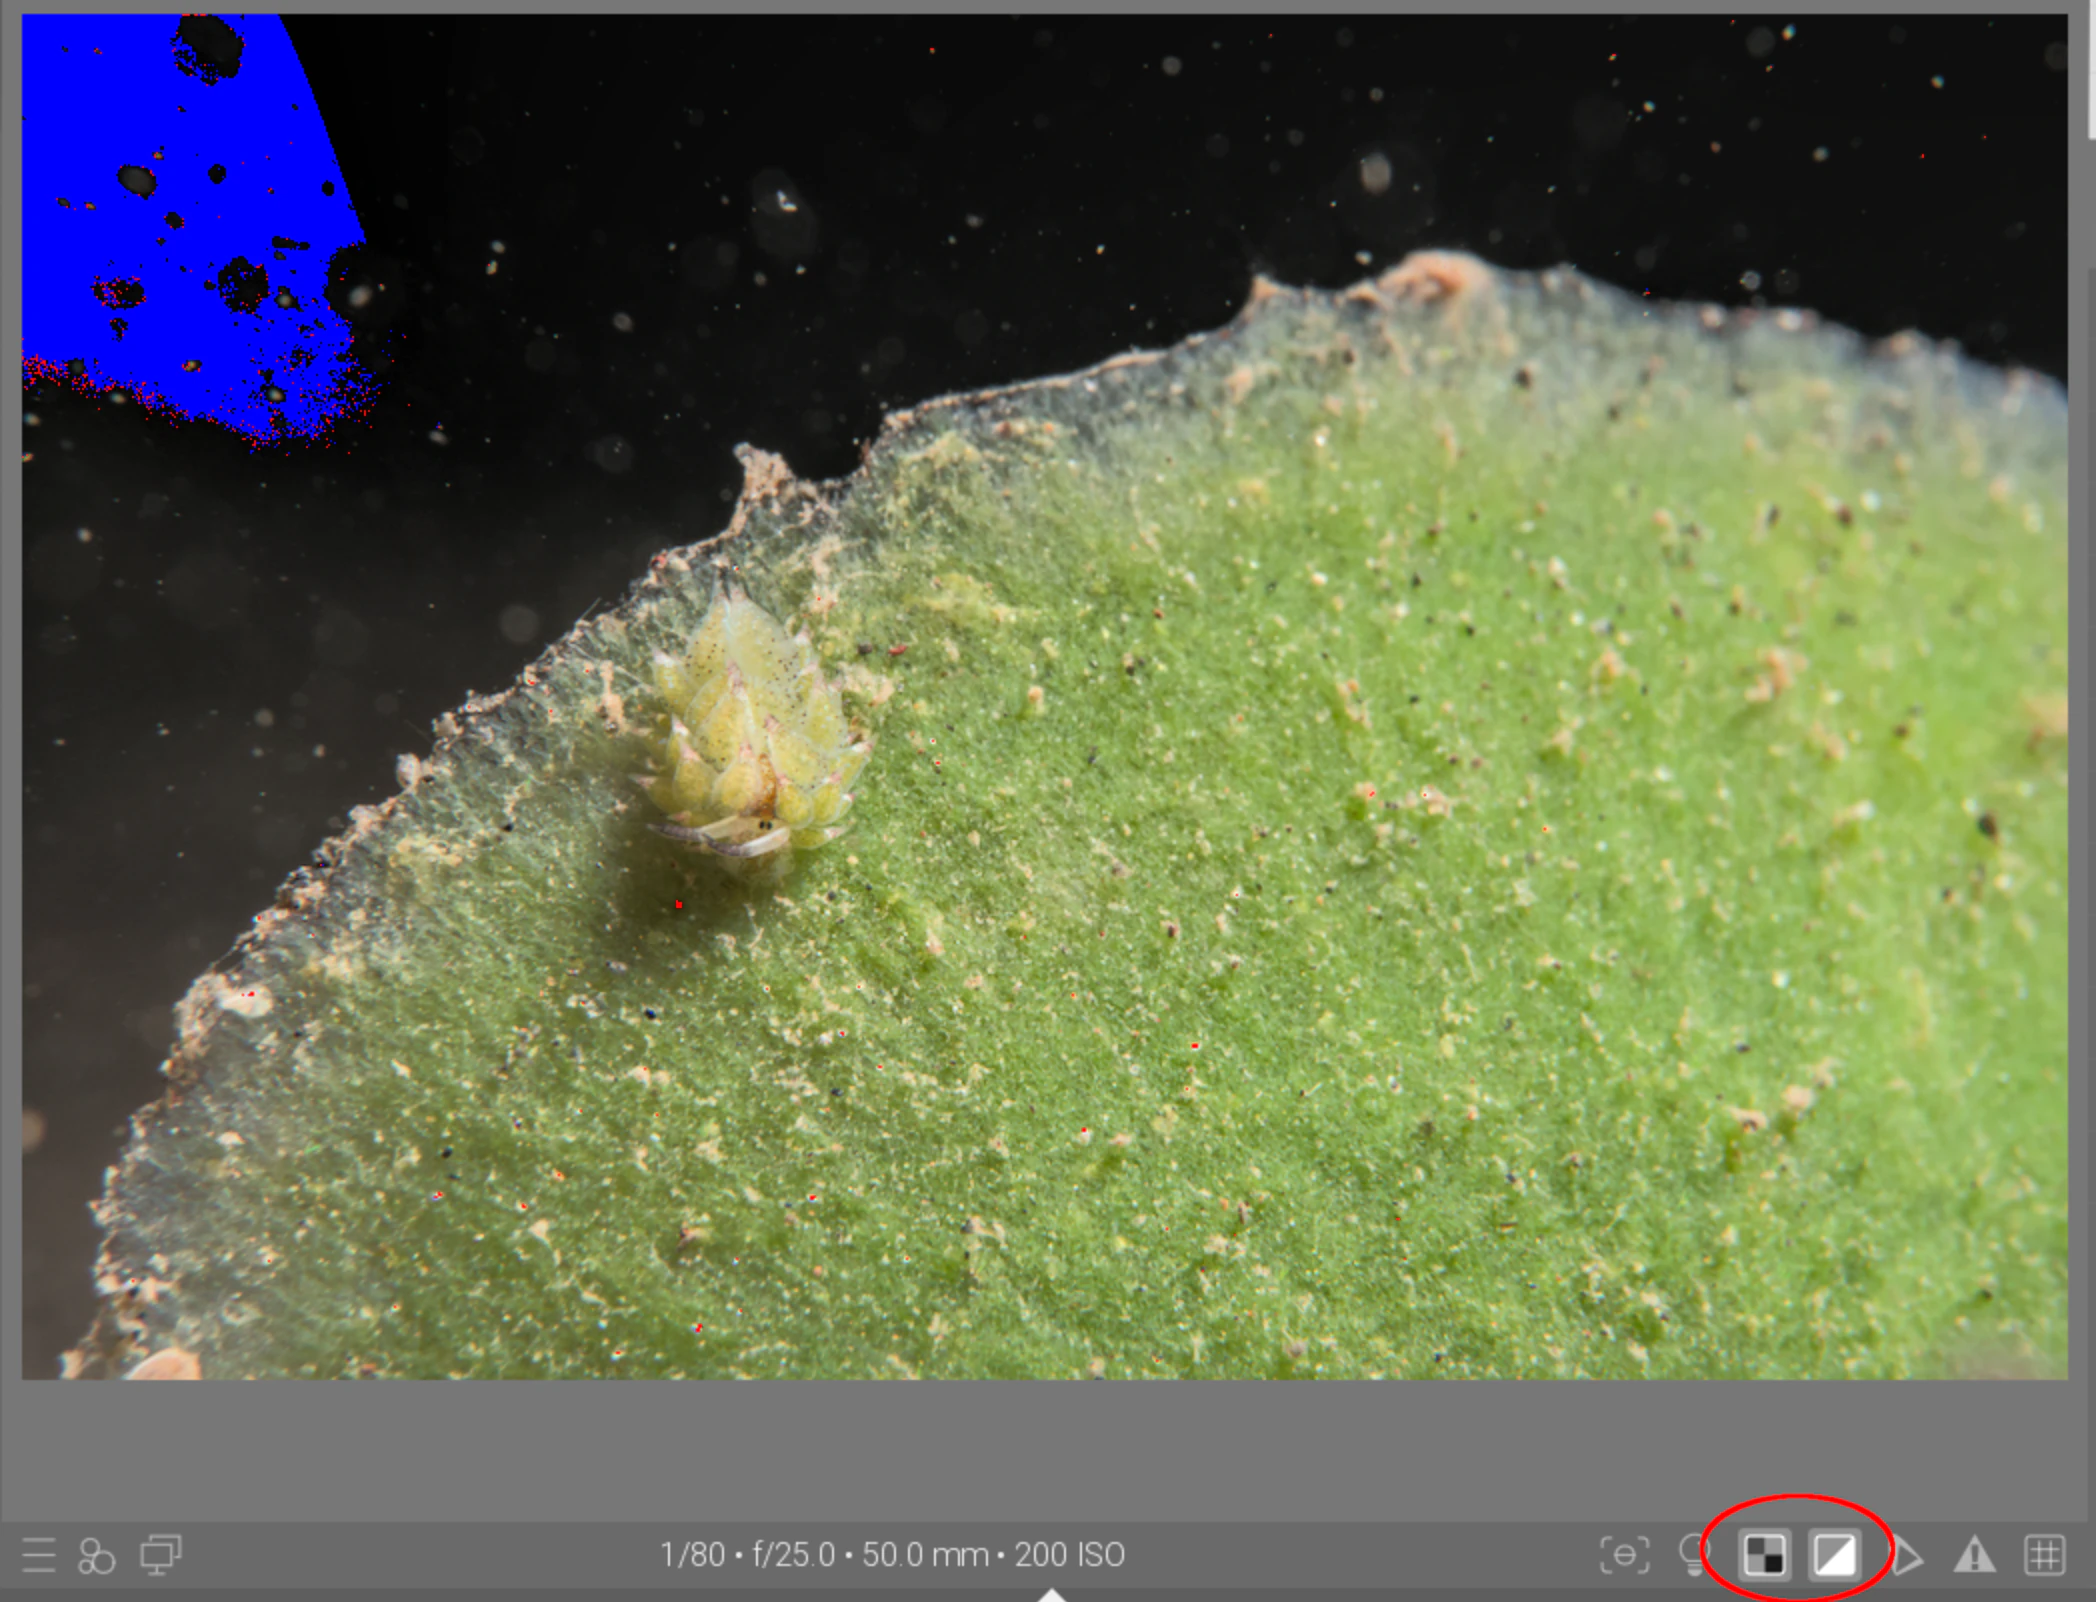
The underexposed areas in the background can be ignored, since I don’t need any detail there.
At this point I will make a few other minor tweaks like noise reduction (think about how ISO plays a role in this).
And at this point I will normally export to GIMP for the back scatter removal and fine tuning of colors, contrast, and sharpening. I generally finish with a final crop before exporting the image.
This image was all about planning the shot. You could see from my above “misfires” that I had a number that weren’t quite right. Luckily my subject moved slowly and I was able to remain calm, maneuver into position, and patiently wait for the right moment. This isn’t always possible with some creatures that scare easily, but with nudibranchs, it’s usually best to be patient and plan the shot - get your ISO, aperture, and shutter speeds on target, get your flash positioned correctly and at the right intensity, and wait for the perfect moment.
I generally don’t “review” any of my photos underwater - it’s not a good use of my time there. But I will generally have a quick look at the image as it quickly passes through the viewfinder to see if it was under or overexposed. When the subject allows it, I will often take a few exposures, either bracketing, or stepping up/down a couple of times. The amount of information stored even in a dark image is incredible.
This article was also a nice exercise in exposure correction as I’m still learning my post-production software every time I jump in. Yes, I could easily use the “auto” functions, or jump into the AI world of A****’s tools. But I think that takes away from the joy of artistic creativity and causes us to lean too heavily on automation: thus degrading your own abilities.
When shooting underwater, we rarely have multiple opportunities to “reshoot” a subject. And if you’re traveling, you may never get a second chance at seeing a subject. This is why I find it critical to know your gear, know its capabilities, and be ready with the correct settings for the subject you want to photograph. And even if you don’t get the “perfect” shot, know that if you’re shooting in raw, there’s often a lot you can do to a photo in post-production to find a gem in the rough.
I hope you found this little write-up informative if nothing else, and I welcome your comments and suggestions in the section below. I am always trying to learn more and improve my skills.